granny-square blanket
For years I was convinced that I lacked the inherent skill to crochet. My patient mum, an accomplished crocheter, tried to teach me dozens of times. I stayed up late trying to learn from YouTube videos (even the ones that promised 'anyone can crochet - this video is for absolute beginners!') My sister tried to help, a few friends encouraged me, and I got books out from the library. I really wanted to make a granny square blanket and I knew that crochet would be a wonderful way to use up all yarn leftover from my knitting projects.
Eventually, it was an evening spent with my five-year-old niece that gave me the inspiration to try again. She was sitting on the floor, watching Netflix and casually crocheting a giant granny square from yarn scraps in a basket, almost absent-mindedly with her eyes on the movie. She said 'come on Aunty, look it's easy!' and her beautiful, colourful blanket-in-progress motivated me to try again, this time with more patience.
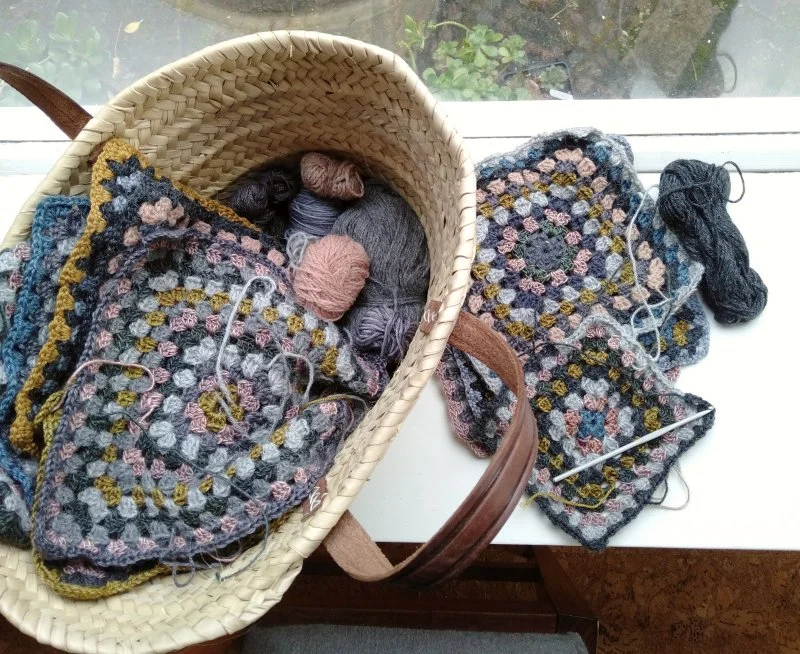
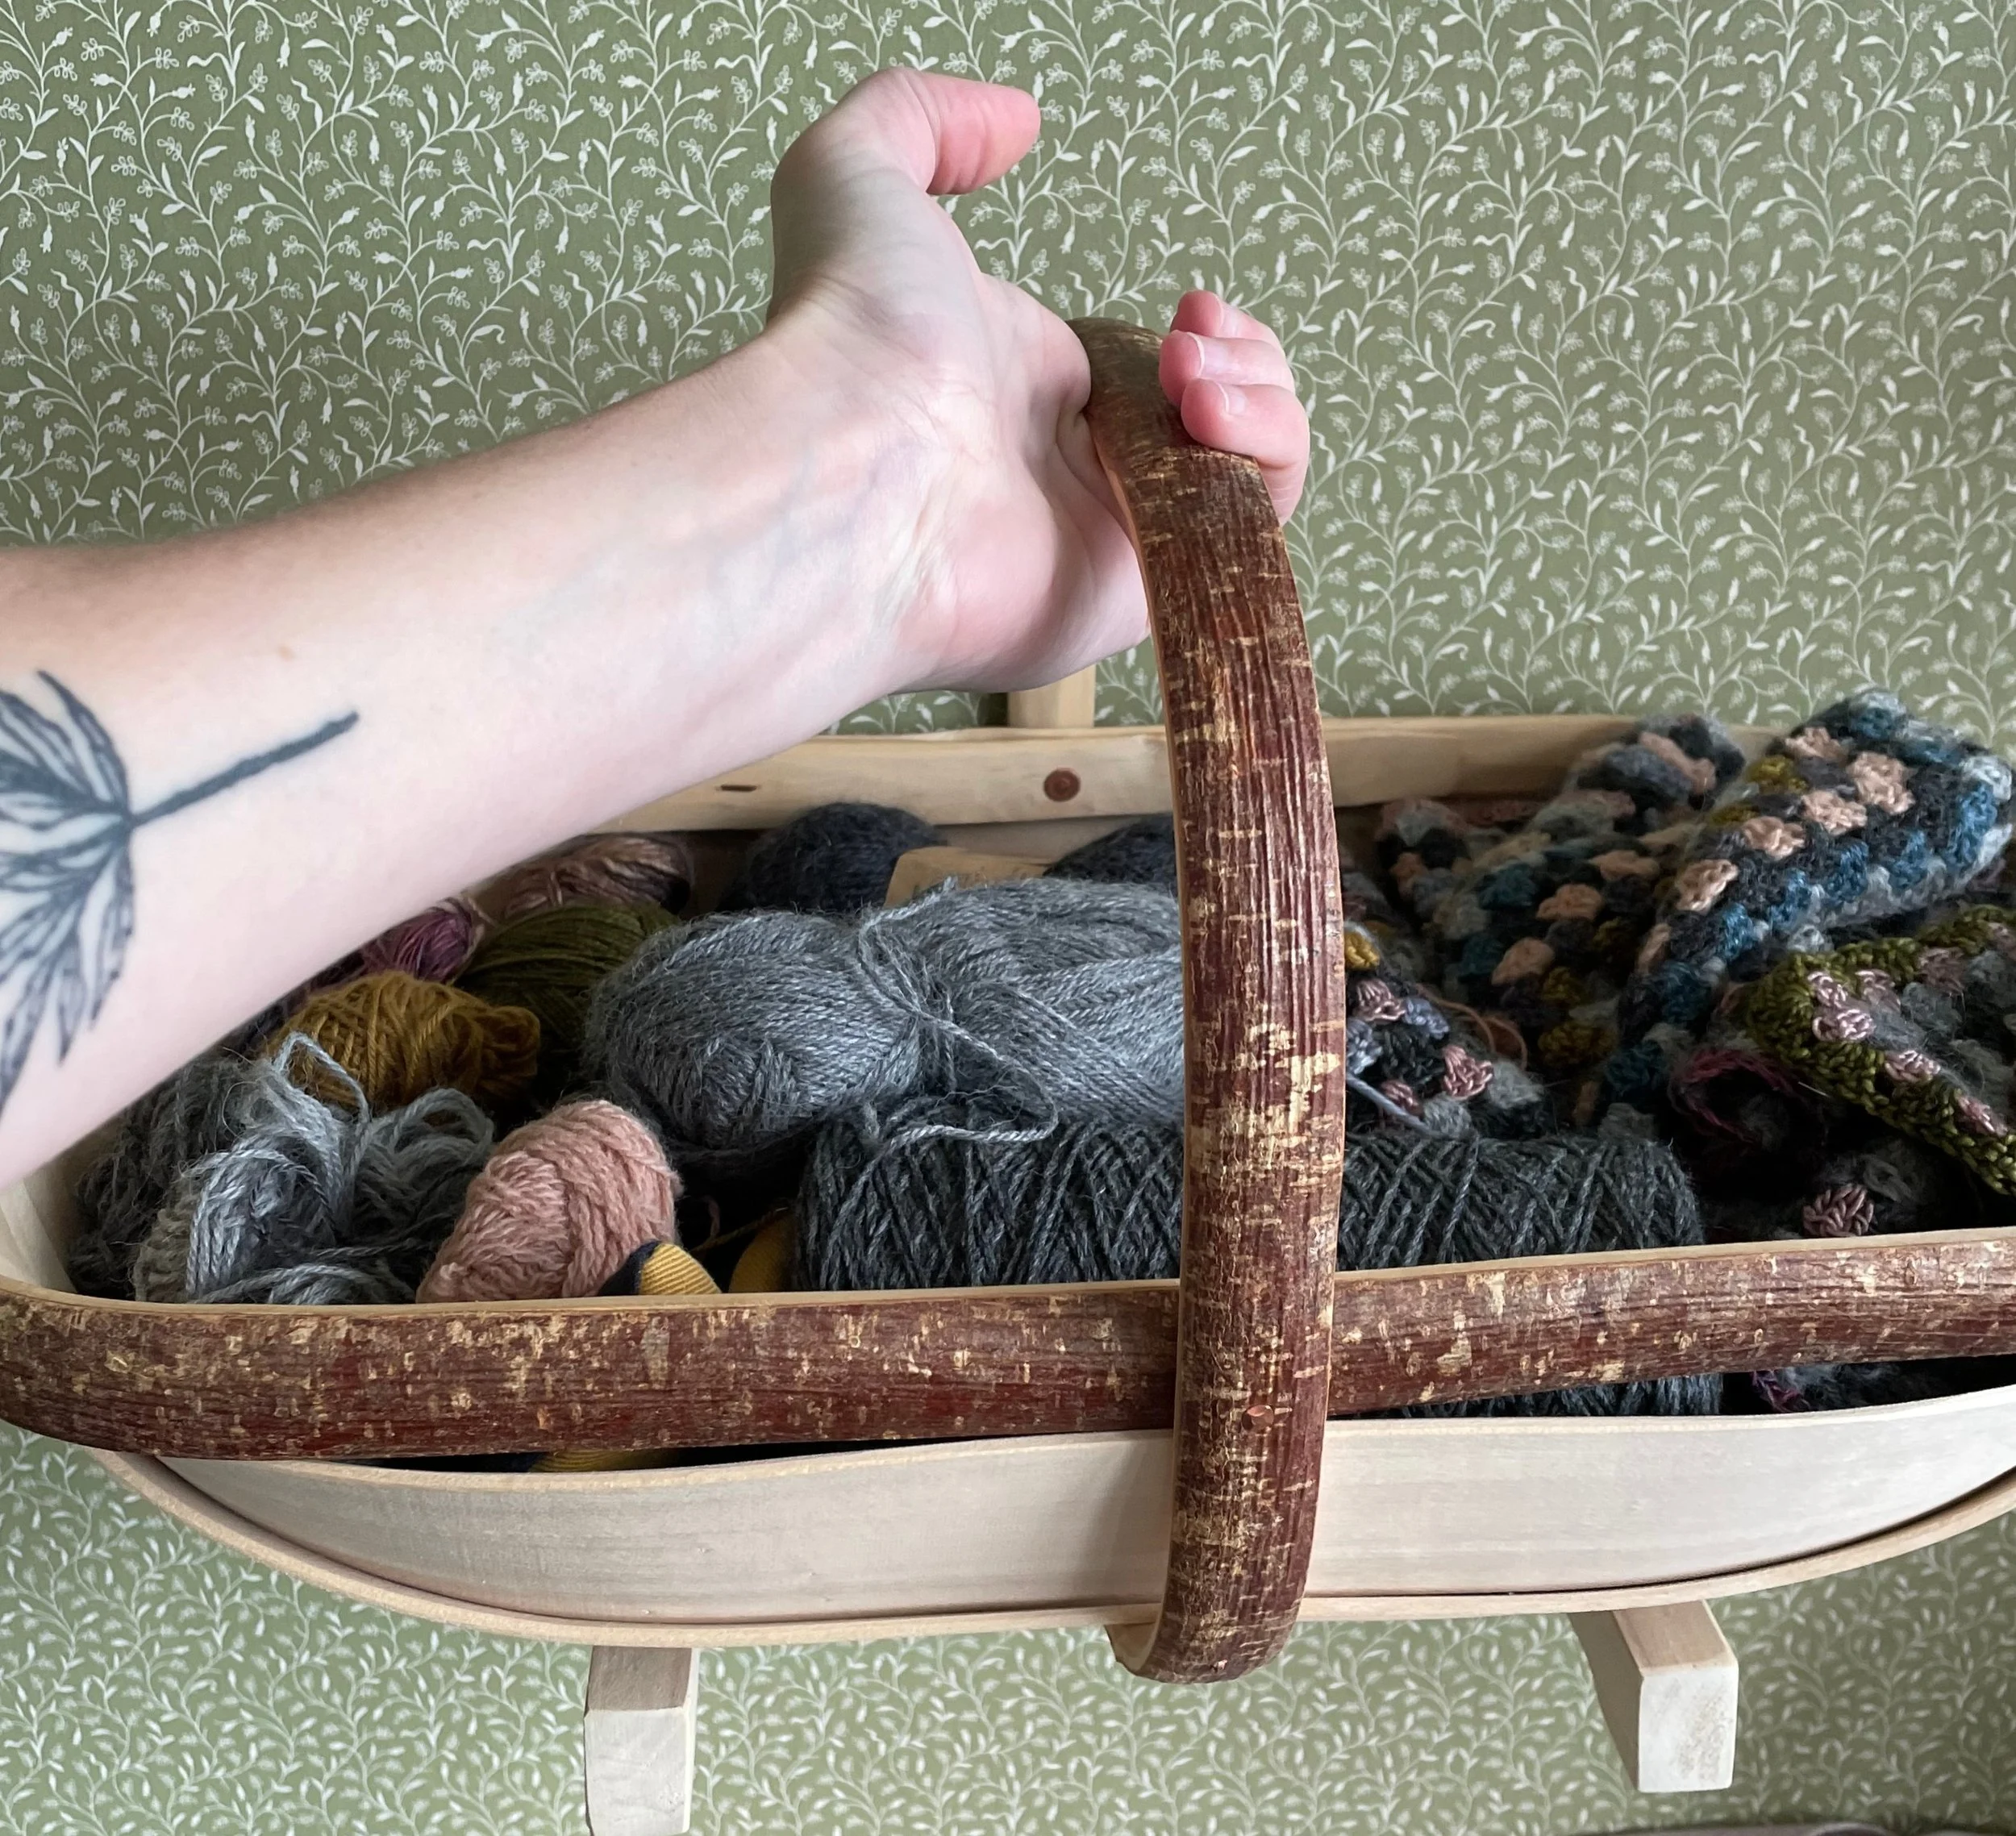
I started out with granny squares to use up my favourite 4-ply leftovers. Most of these were locally hand-dyed yarns in silk and merino that I had used in shawls and garments. Once I had a few squares, I realised they would make a beautiful blanket so I kept them, along with all my fingering-weight yarns, in a basket. This way I could carry them around easily and add to the blanket gradually over time.
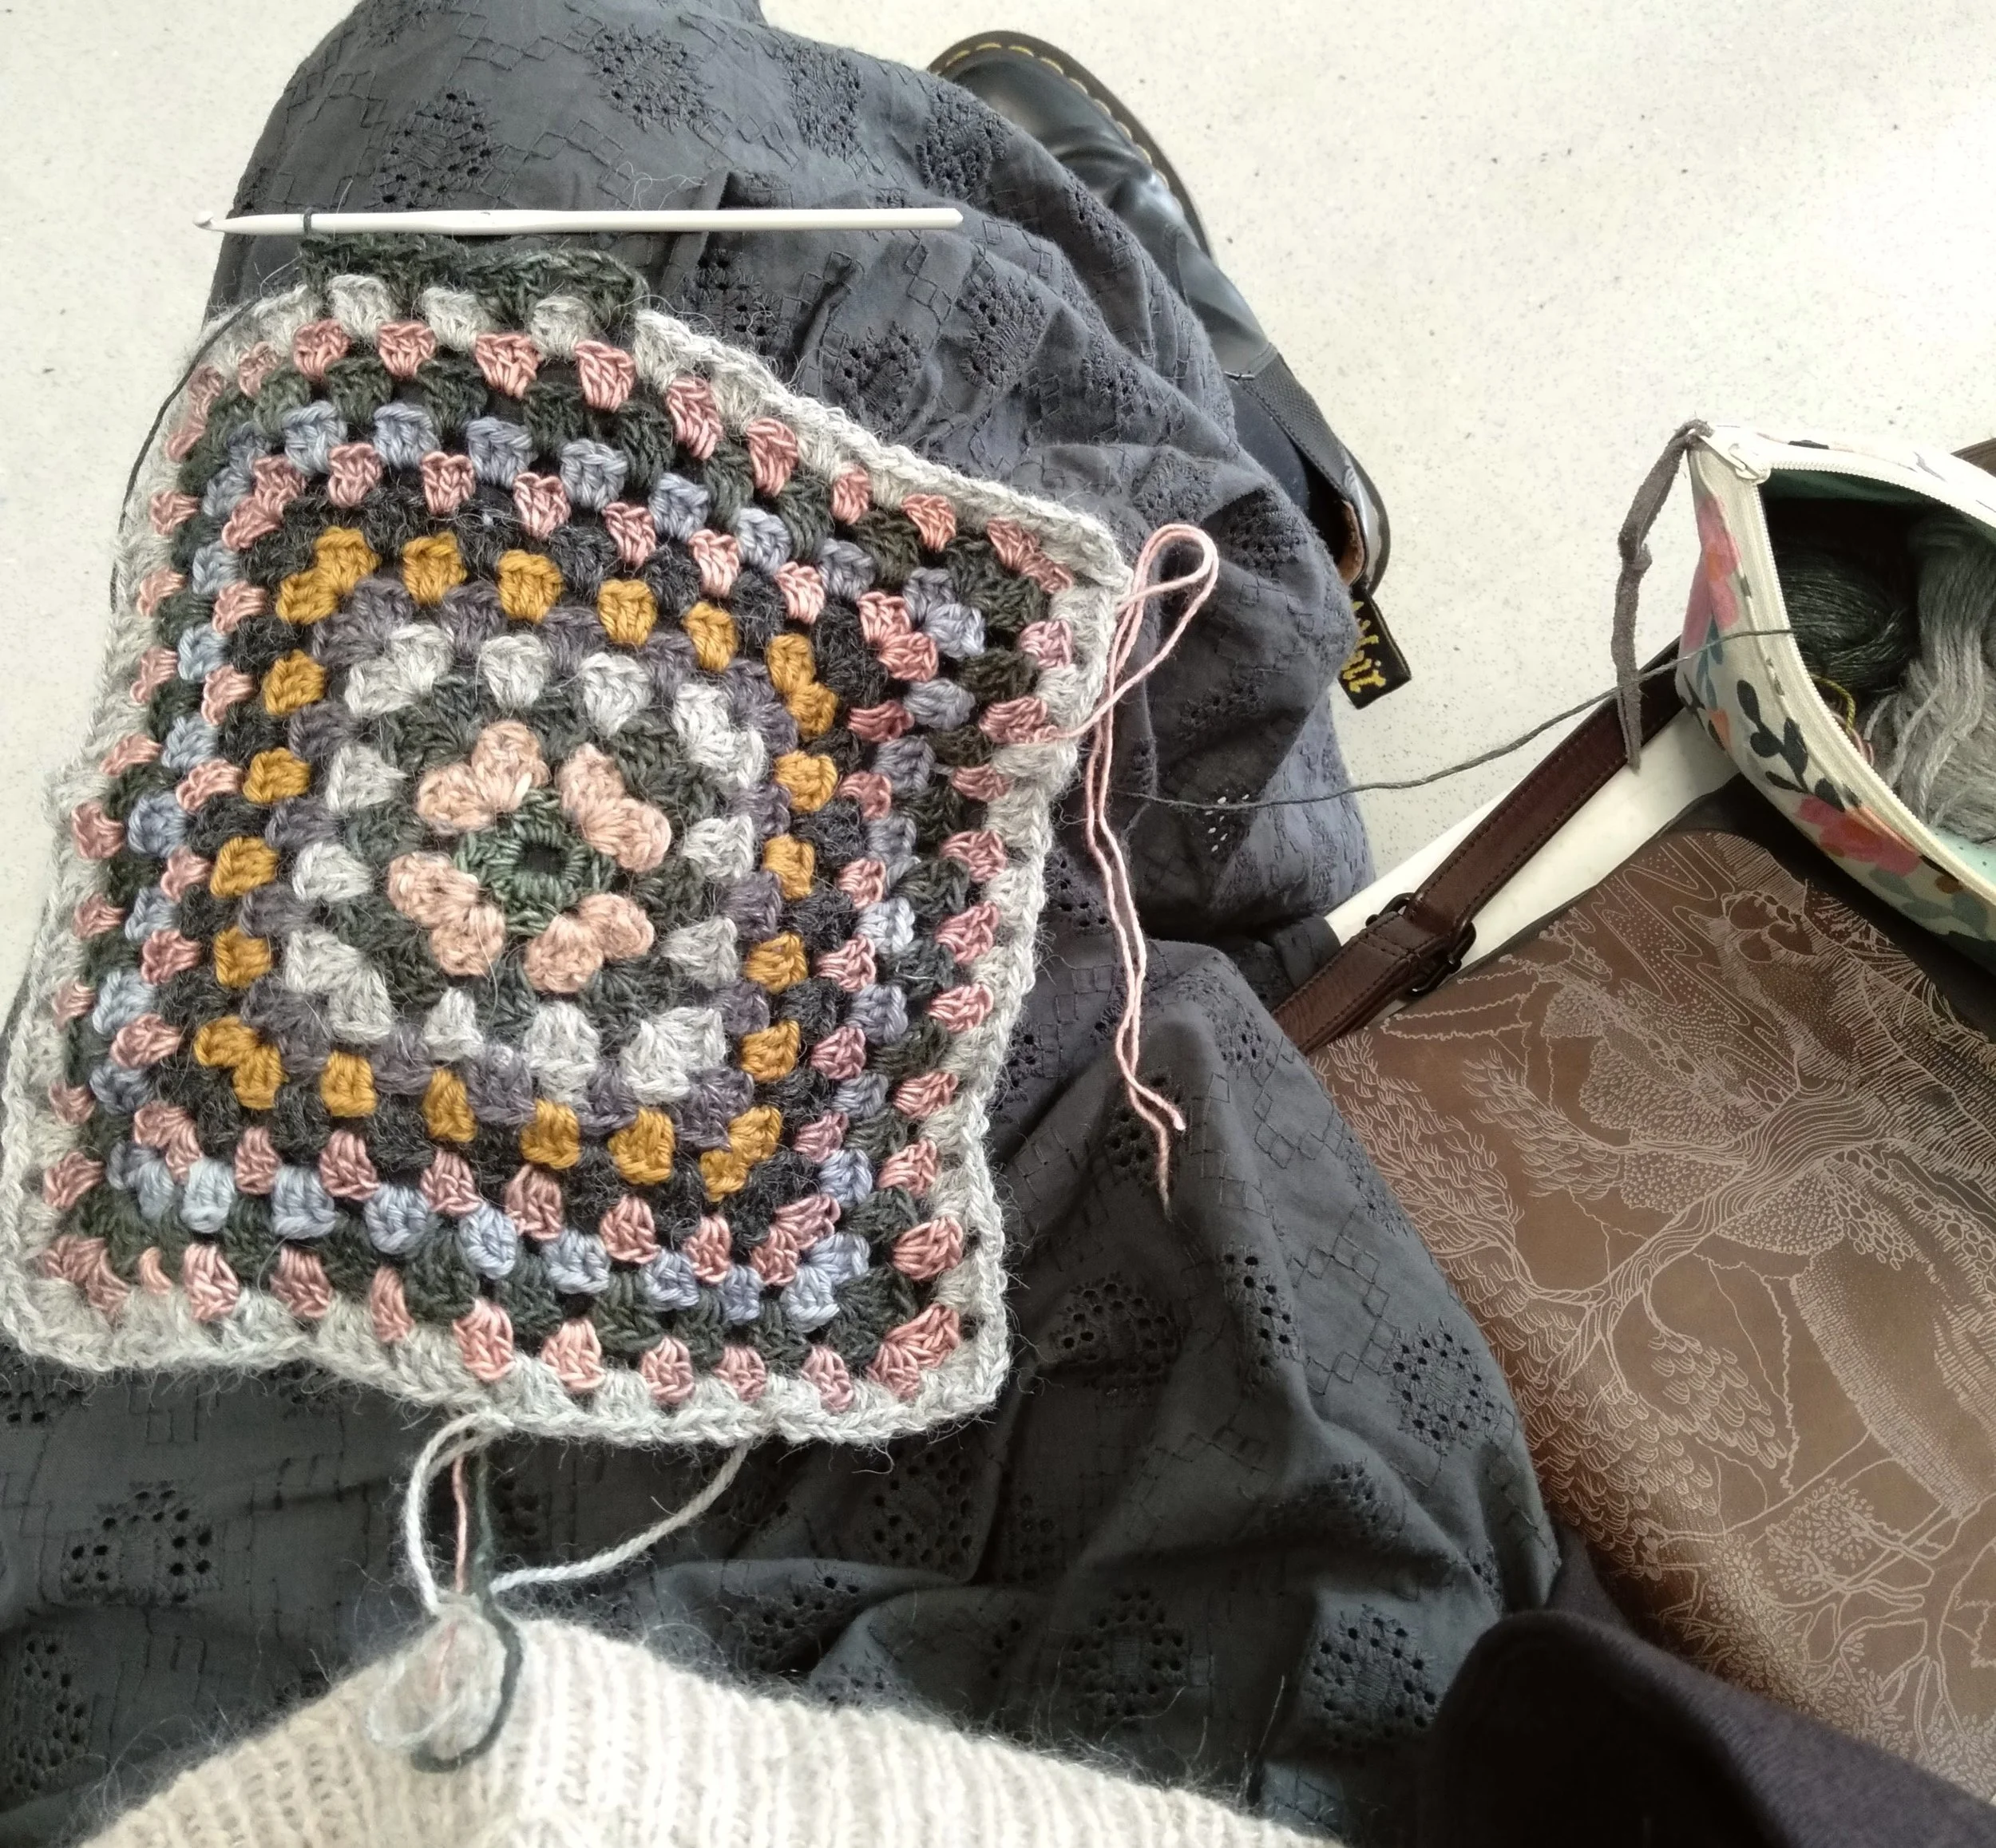
I worked on these squares on buses, trains and planes, in my lunch break at work and even at the laundromat in the middle of winter.
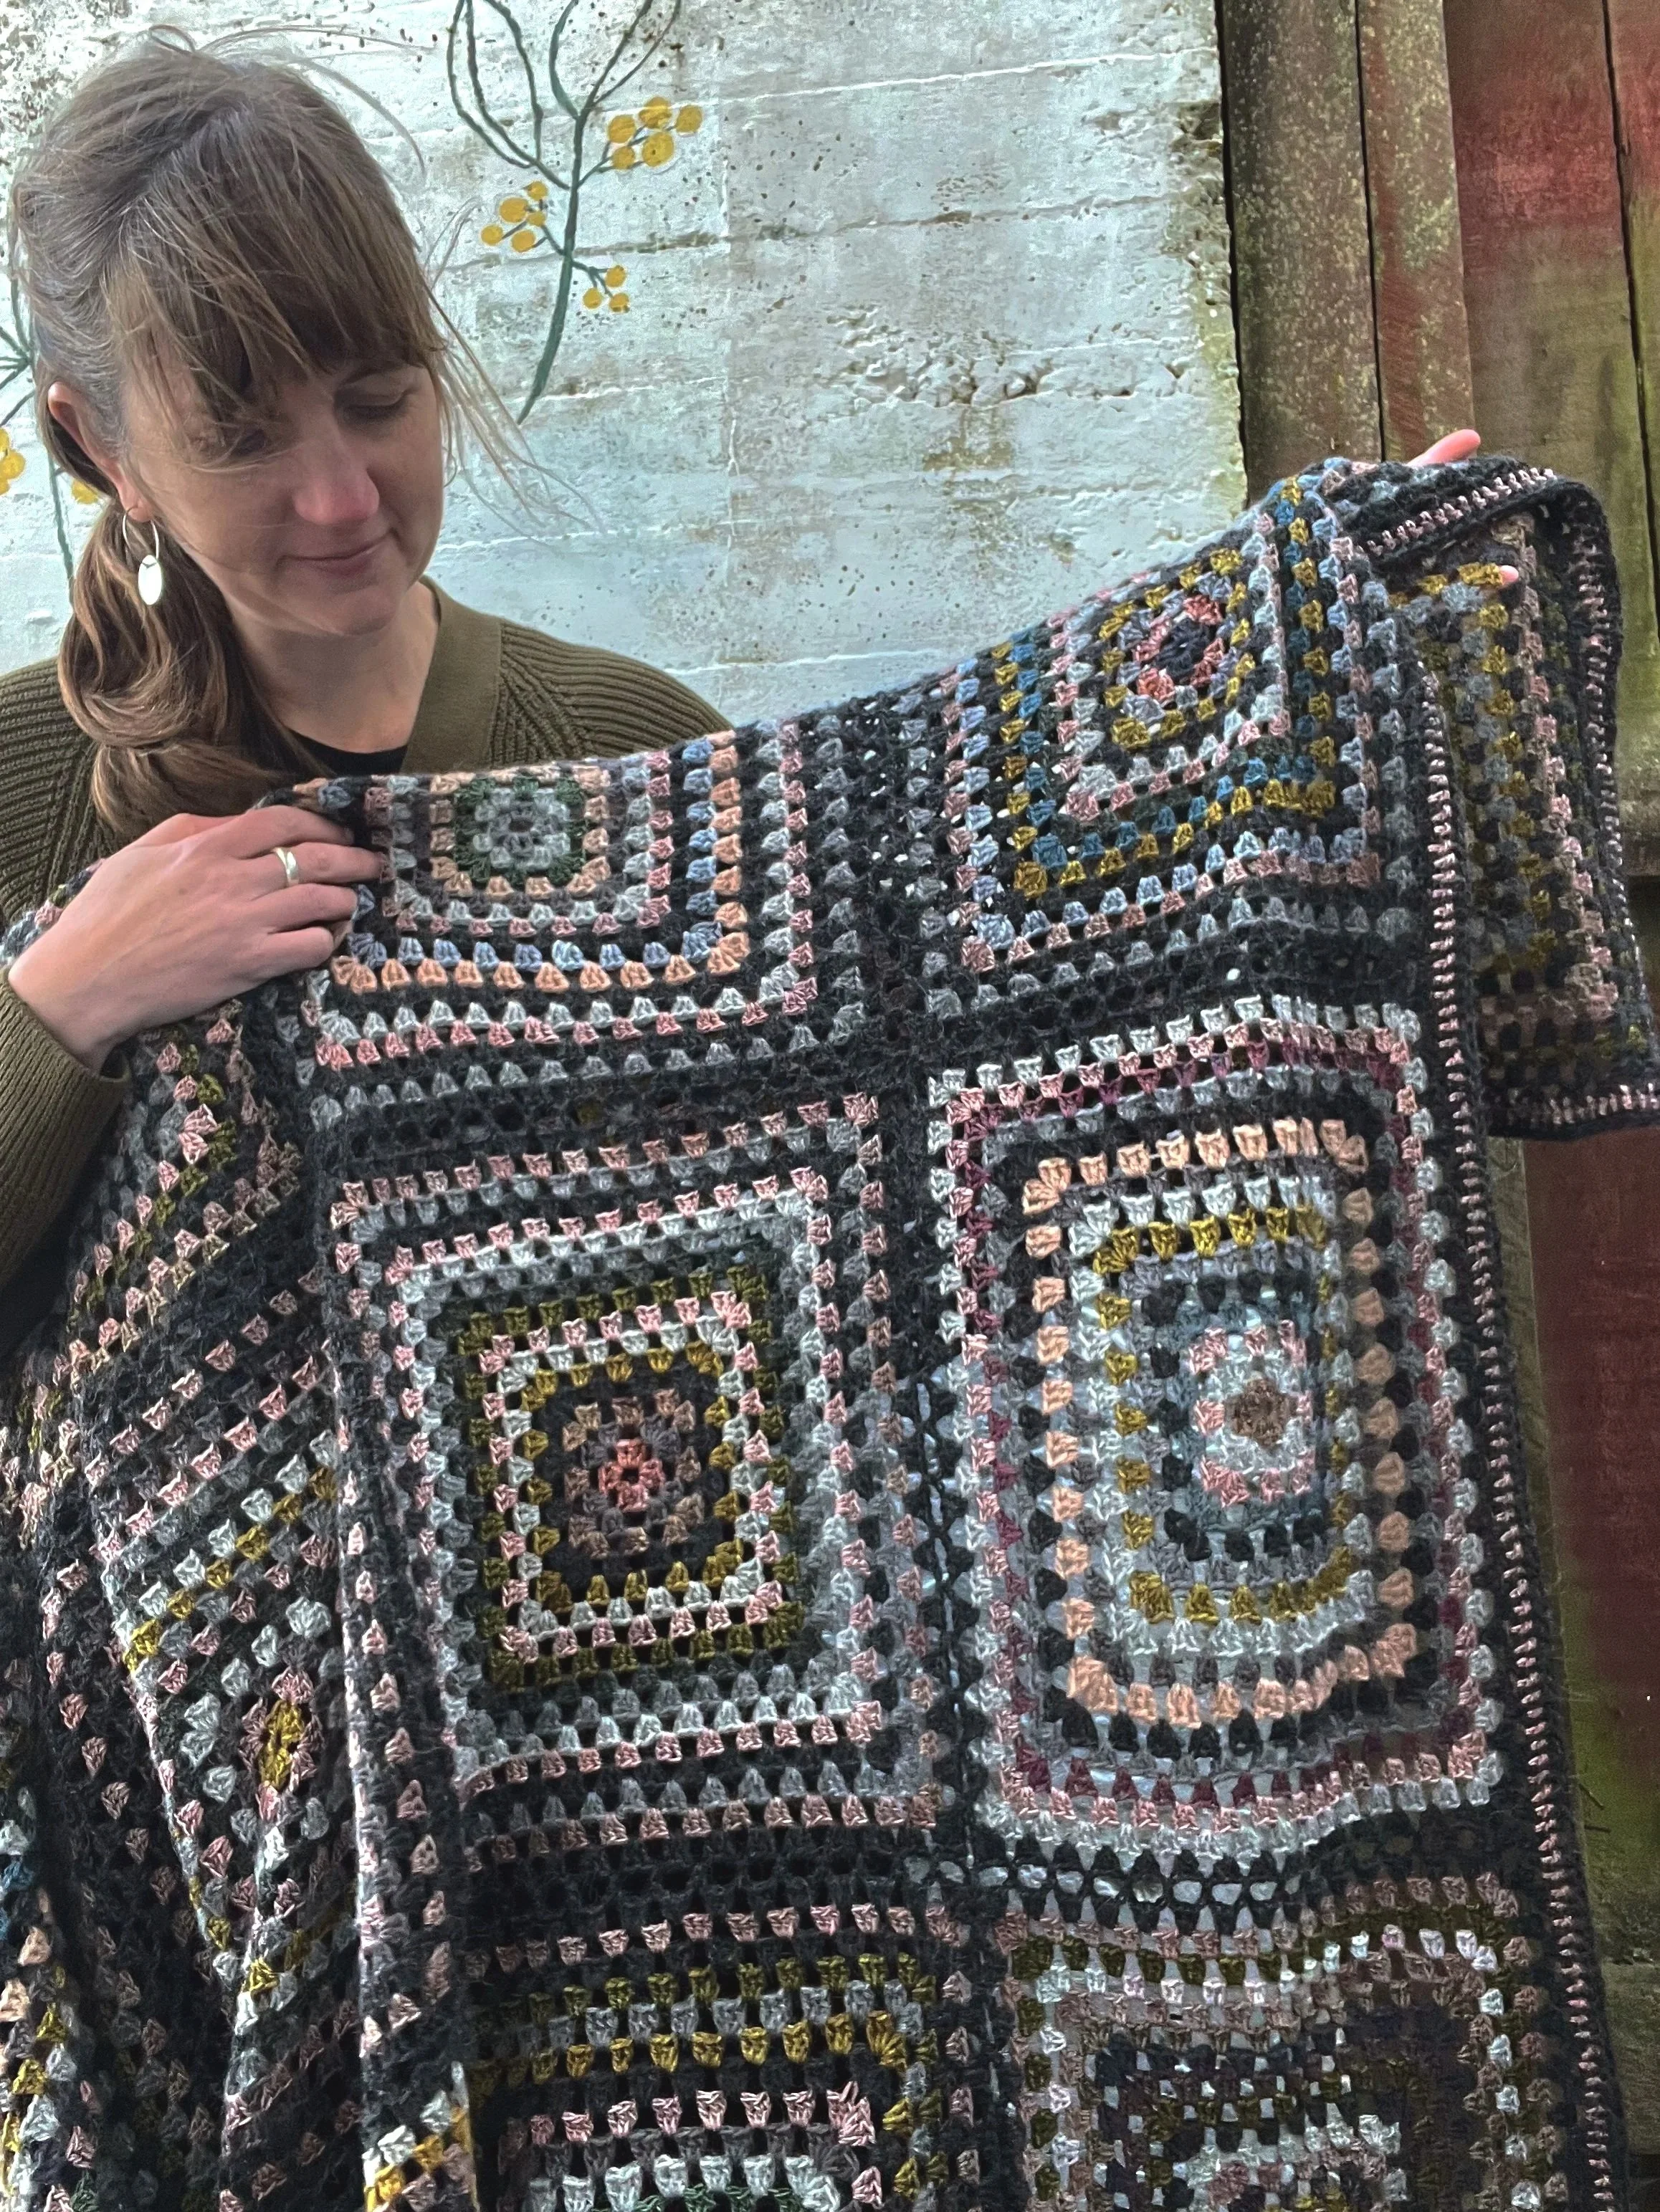
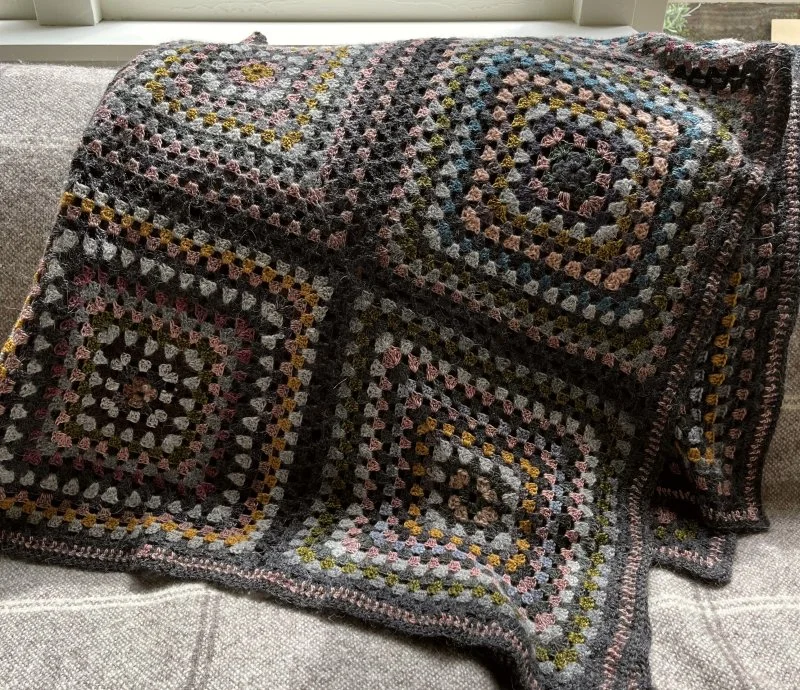
Last year I finally finished this multi-year project. I am so happy with the completed blanket and it keeps us warm on the sofa. I hope my story of persistence encourages you to have another go at crochet, if, like me, it's something you've struggled to learn. I've described my process below.
Materials
I decided on using fingering-weight (4-ply) yarn for this project consistently, in order to maintain a consistent gauge and drape. While I did use leftover yarn (merino, silk, alpaca, possum and blends of these) I was quite careful to 'colour-manage'. I tried to stick to a harmonious colour palette: greys, pinks, mustard and olive greens throughout.
I chose a charcoal-grey (nearly black) alpaca yarn to complete the final round of each square and join them at the end, for a consistent look.
I used a 3.5mm metal hook, and worked my clusters somewhat loosely, for a drapey, airy texture.
I also used a beautiful handmade wooden trug basket to keep my project together and easy to transport.
Method
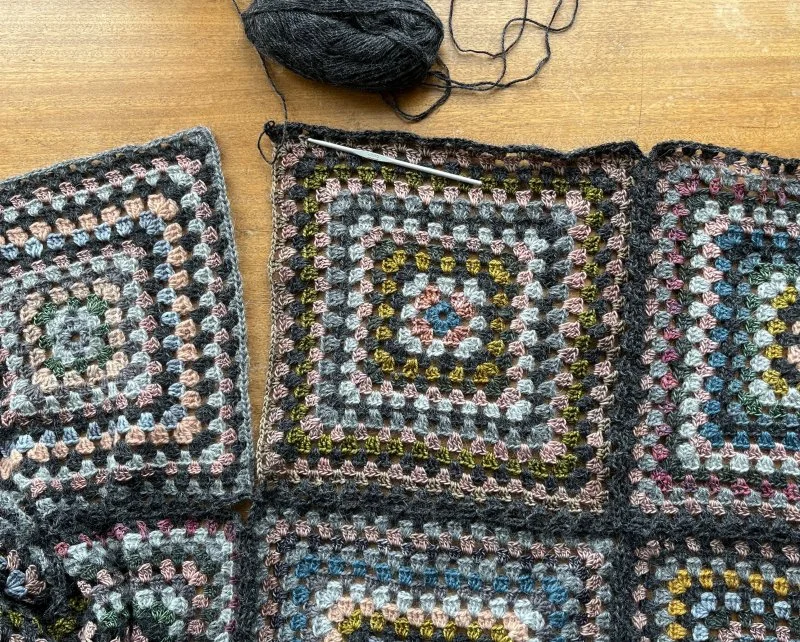
I started out by learning how to crochet a classic granny square, using this photo tutorial.
I chose a new colour for each round of crochet and tried to balance light and darker tones. Altogether I made 16 squares.
I worked a total of 15 rounds for each square, then a final round in my unifying colour (dark grey yarn). Then I wove in all the ends, and soaked and blocked them so they each measured approximately 27cm square.
I knew I didn't want to sew the finished squares together, because I thought that would be tedious! I also wanted to avoid a stiff seam between each of the squares so I did some research into various joining methods. There are lots of options for both sewing and crocheting the squares together.
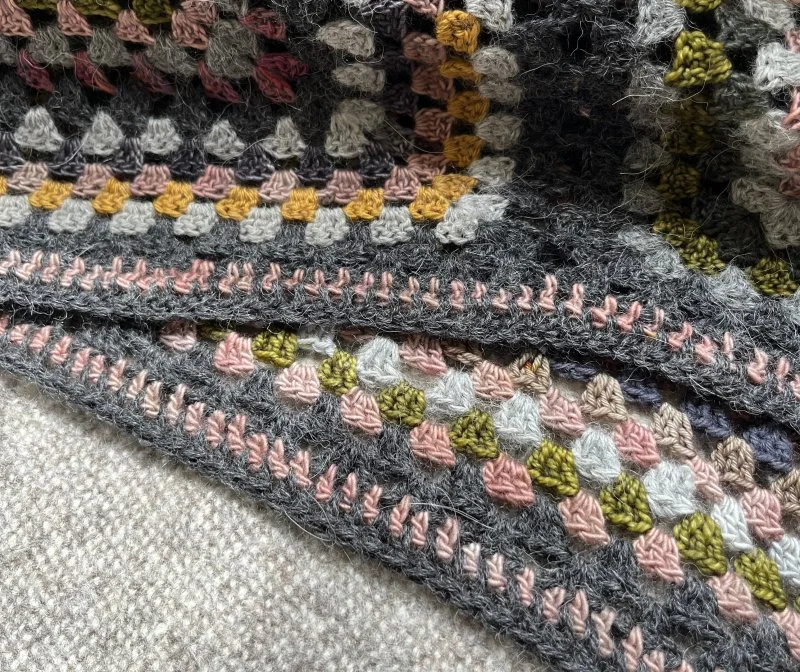
After the squares had dried, I laid them out into a 4 X 4 grid and joined them using the dark grey yarn again and 'the continuous method' explained in this great video.
I worked another round of granny clusters right around the edge of the whole blanket in dark grey, then few rounds of single crochet in pink and dark grey to finish.
Finally, I blocked the whole blanket outside in the sun. It measures just under 1.5 metres square.
I hope I've inspired you to give this a go if it's something you've always wanted to try! For a faster project, you could choose a chunkier yarn such as DK or worsted, and a bigger hook. You could also make one really big square, avoiding the need to join them up! That's what I did for this blanket.
You can see more pictures of my process here on Ravelry. Happy crocheting!