simple drawstring bags
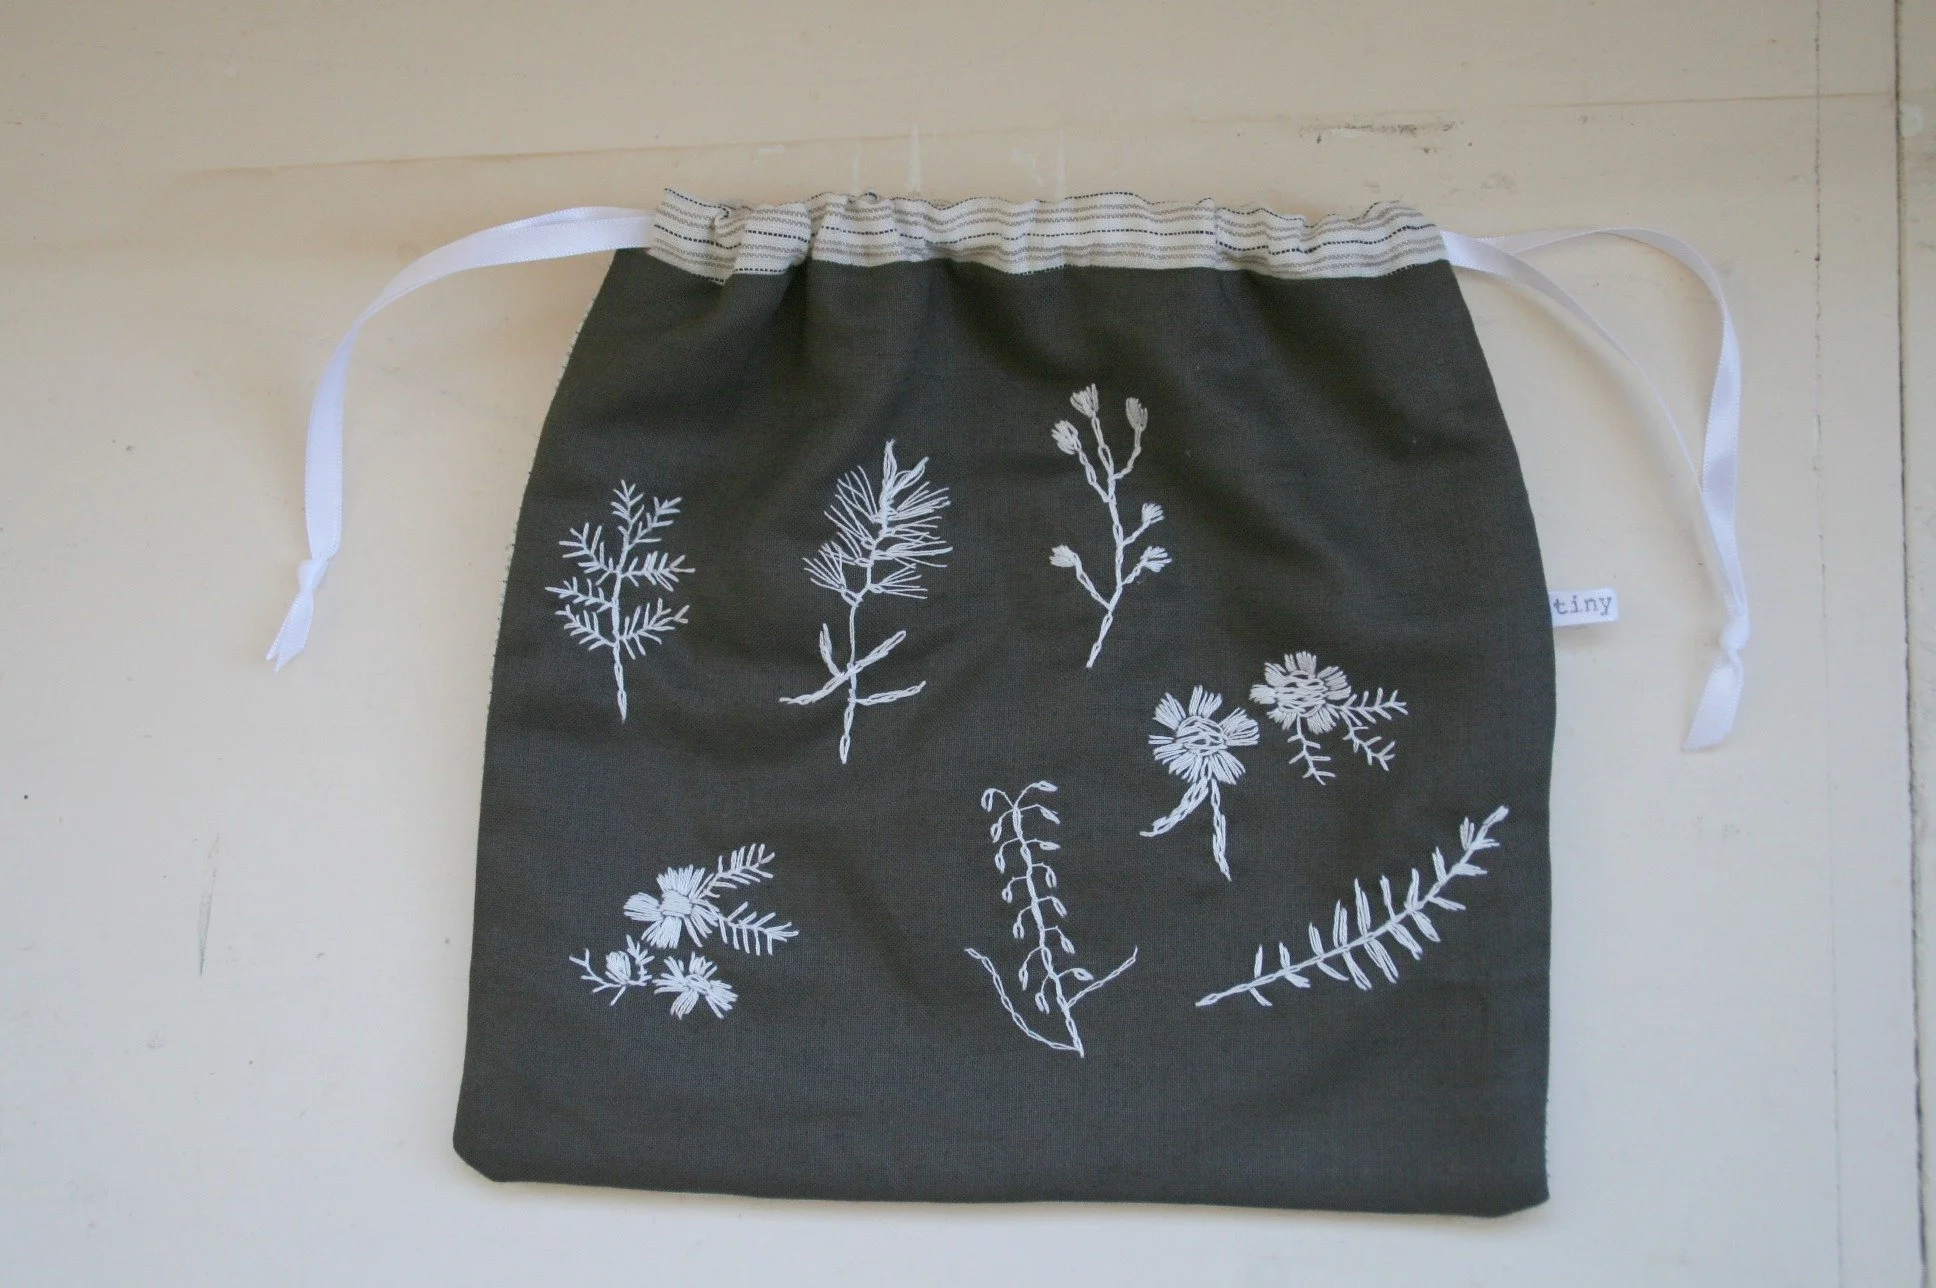

I'm often asked for my pattern or instructions for these bags that I've made (and shared online) over the years. Many have been the vehicle for my embroidery work, but you don’t have to make something complicated with this simple design.
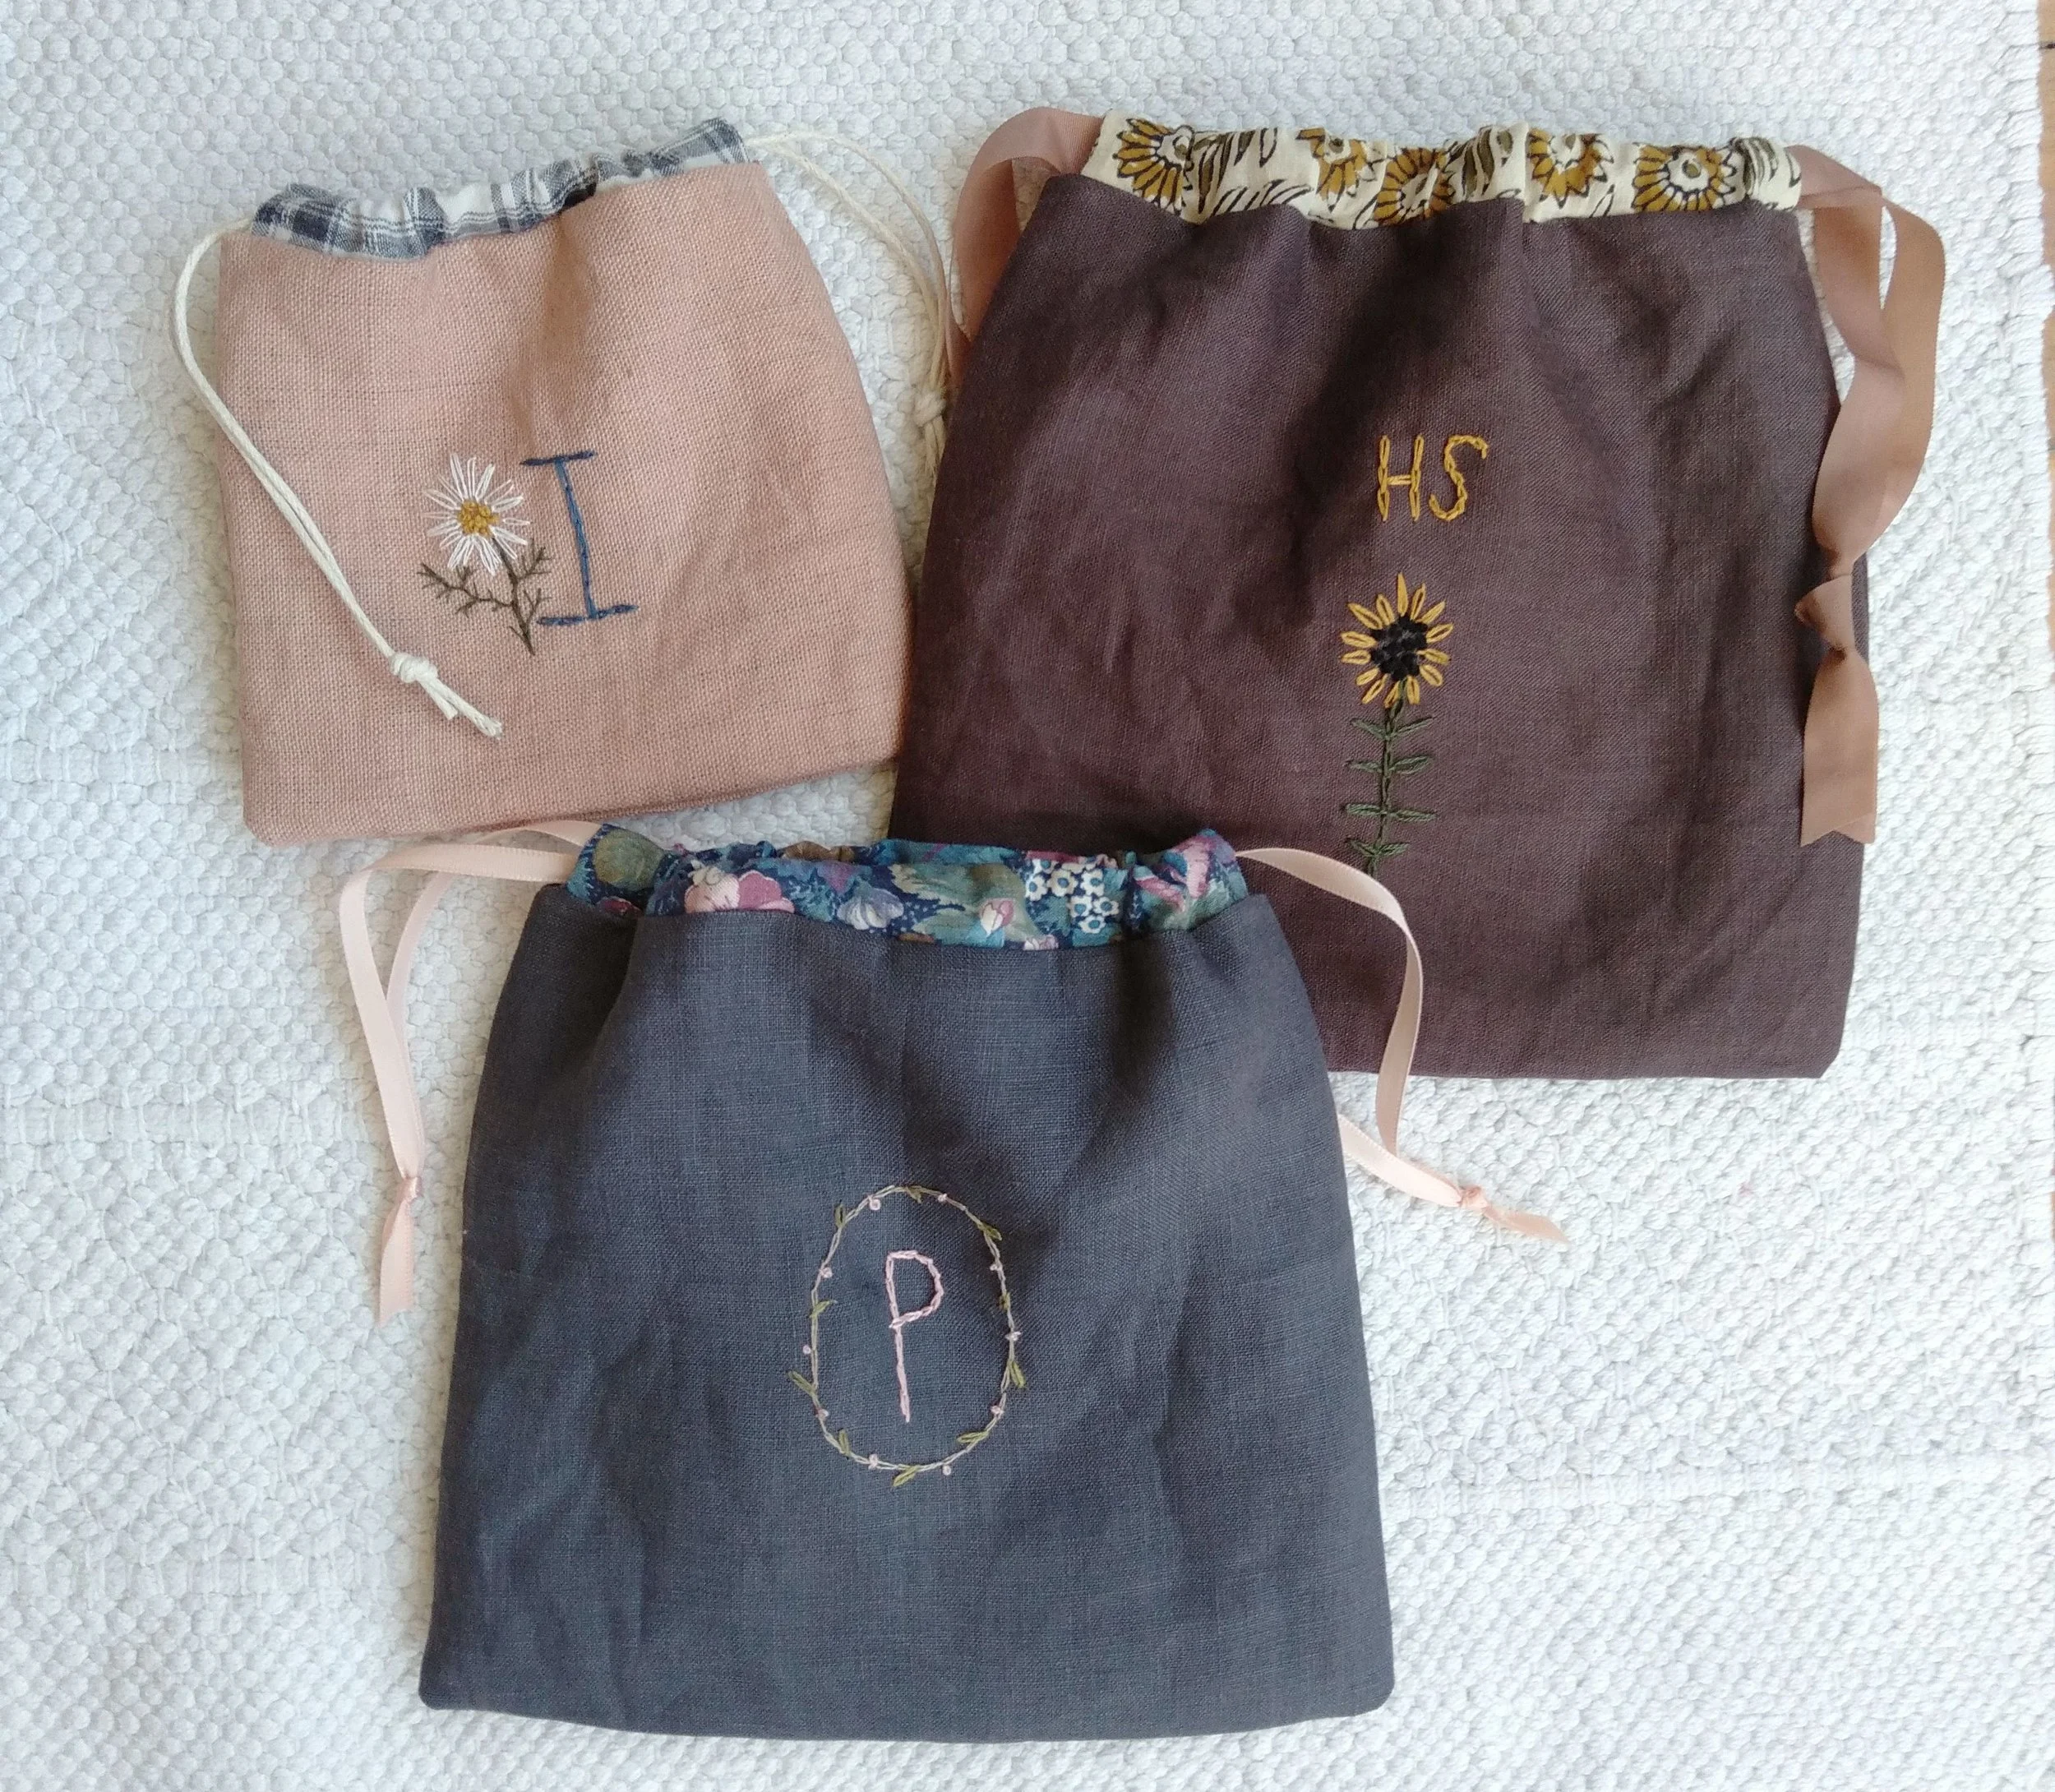
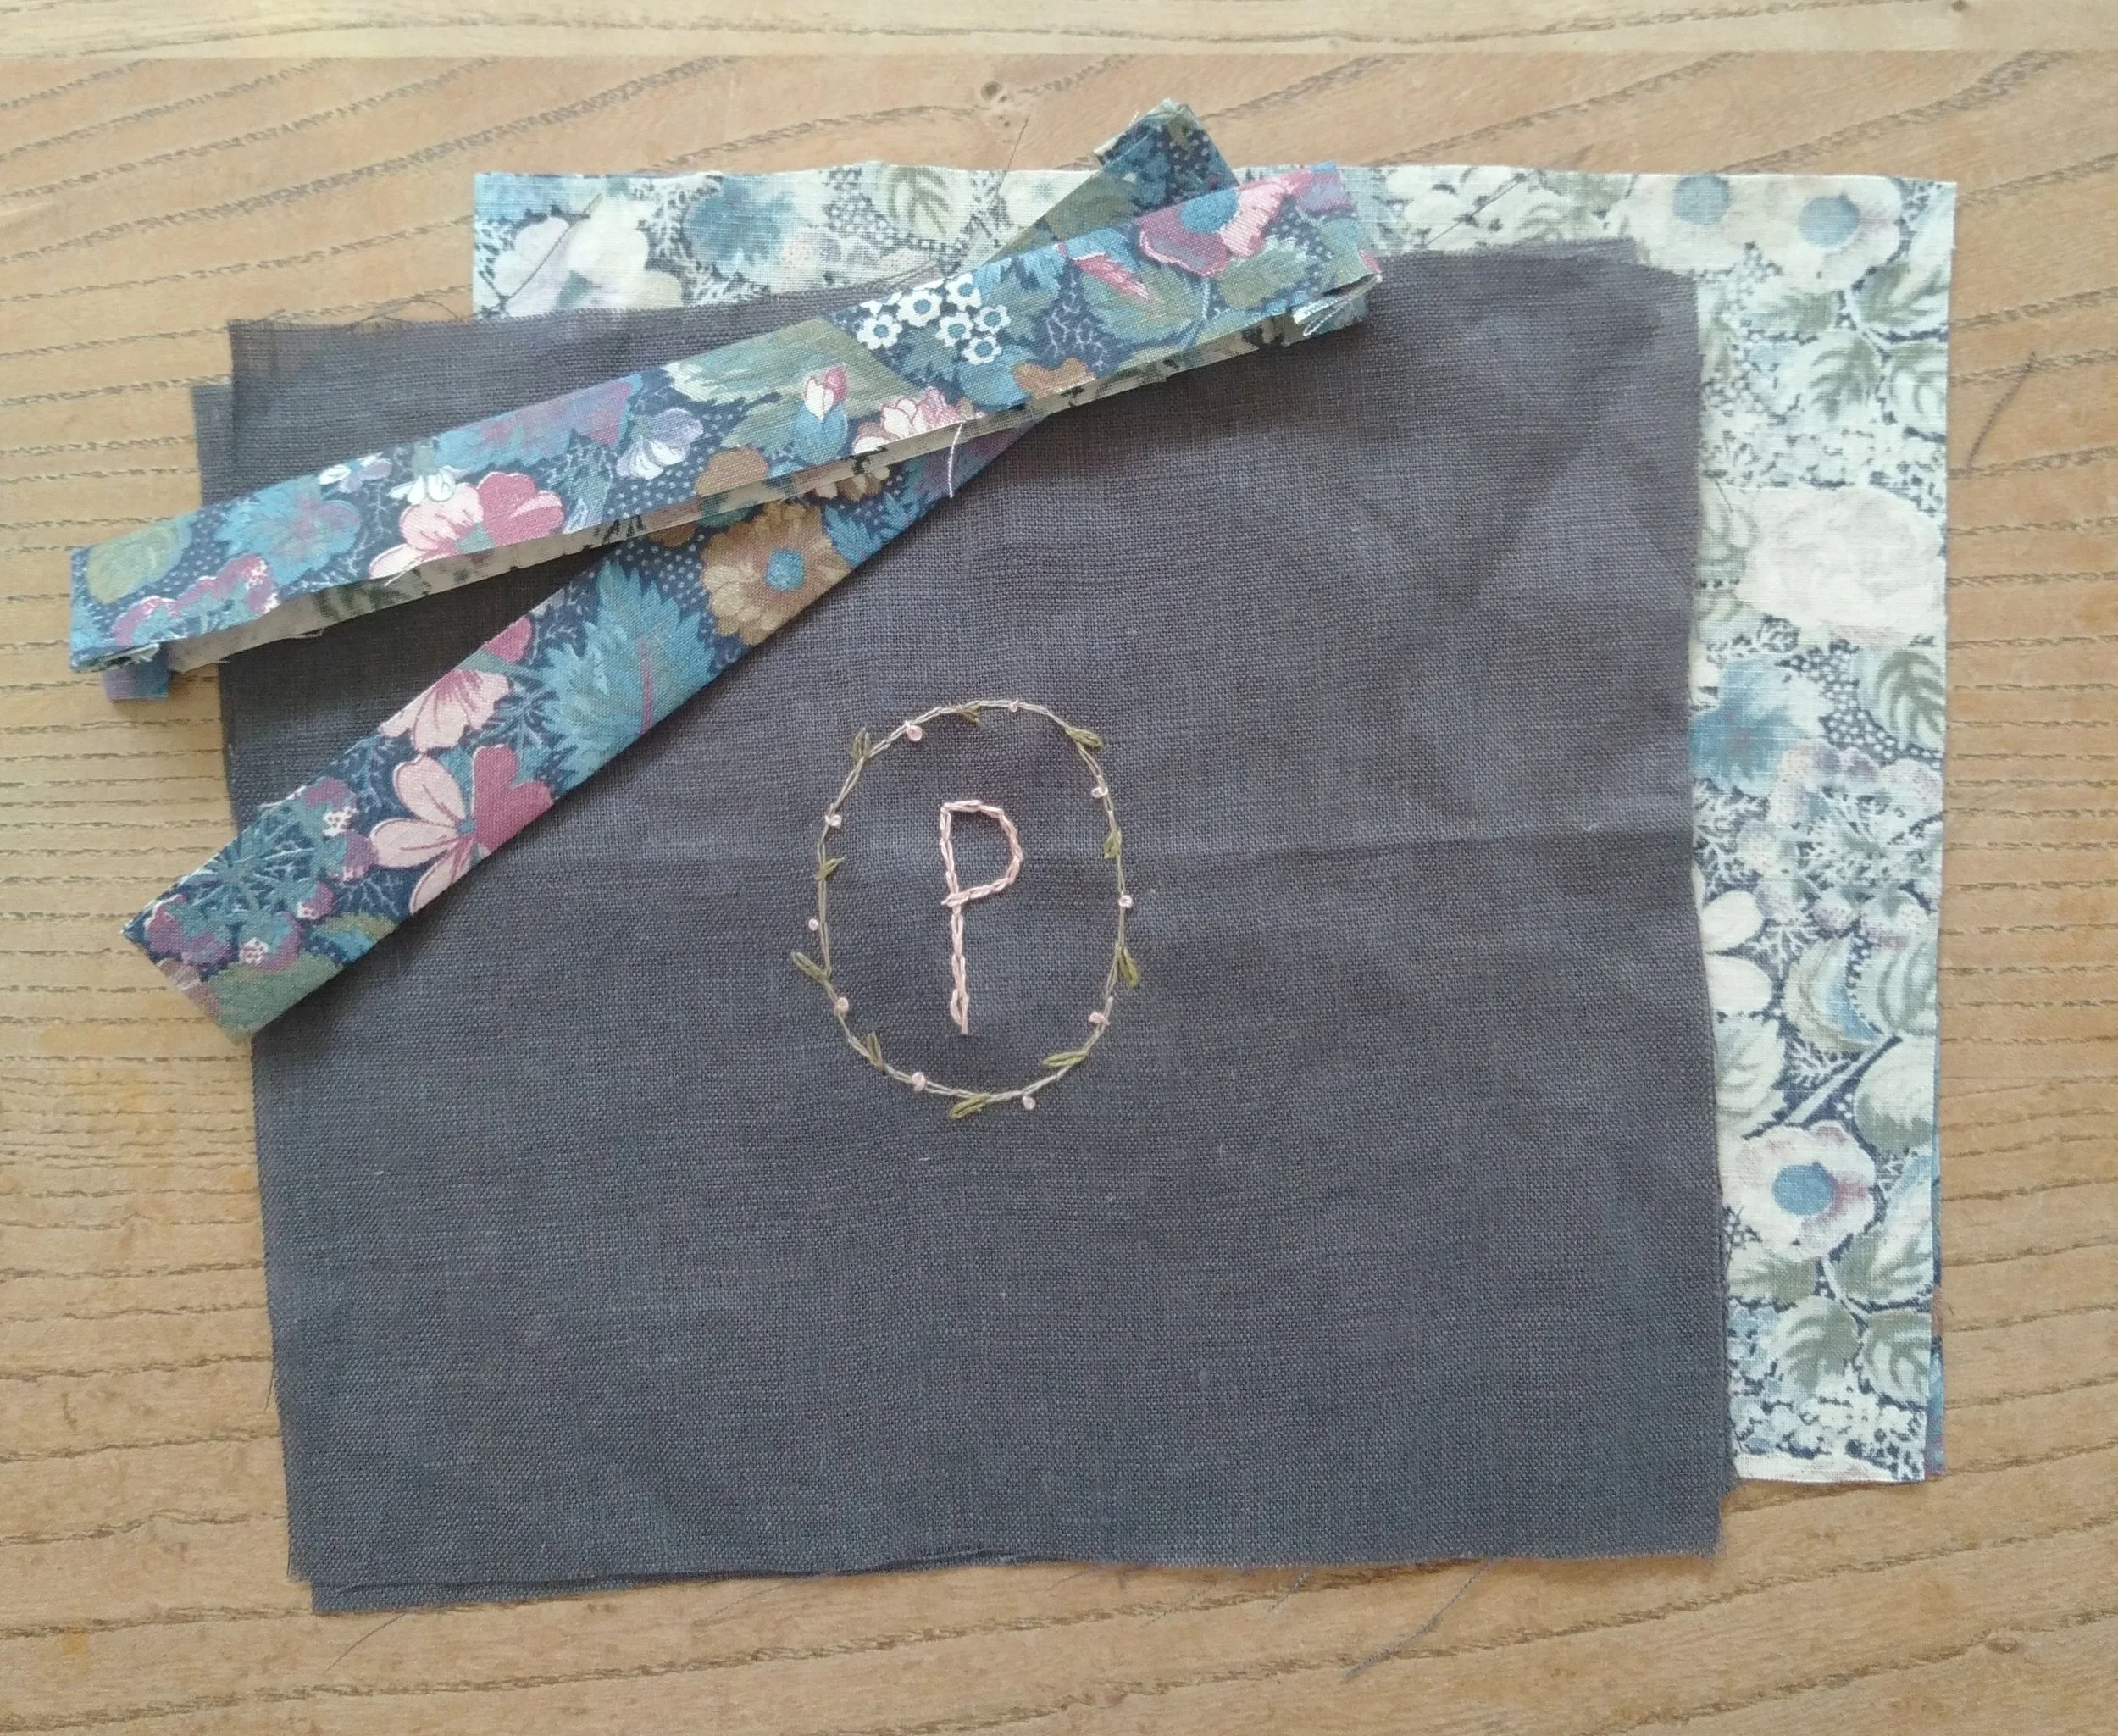
Last Christmas I had an idea to use some fabric scraps and make little pouches for my nieces, each personalised with their initial. I put some sweets, card games, or lip balm inside each, depending on the age of the child. The larger bags even fit a small chapter book. I'm lucky enough to have 13 nieces, and have only made a few of these with embroidered initials. In any case, it's a fun project and I hope you enjoy making them.
In this tutorial, I've given measurements for a small child's pouch. But because the template is so simple, you could use it to create all sorts of pouches.
Size up to create a knitting project bag. Or cut the pieces even bigger to make reusable wrapping for a book or other gift. Large drawstring bags make useful travel companions - you can keep shoes or laundry separate in your suitcase. A tiny one, cut from velvet or silk scraps, would be nice for jewellery.
Press all fabric pieces. To make the casings, fold each short end in 1/2" and press. Fold in another 1/2" and press again. Then fold the whole piece length-wise and press once more. Set aside.
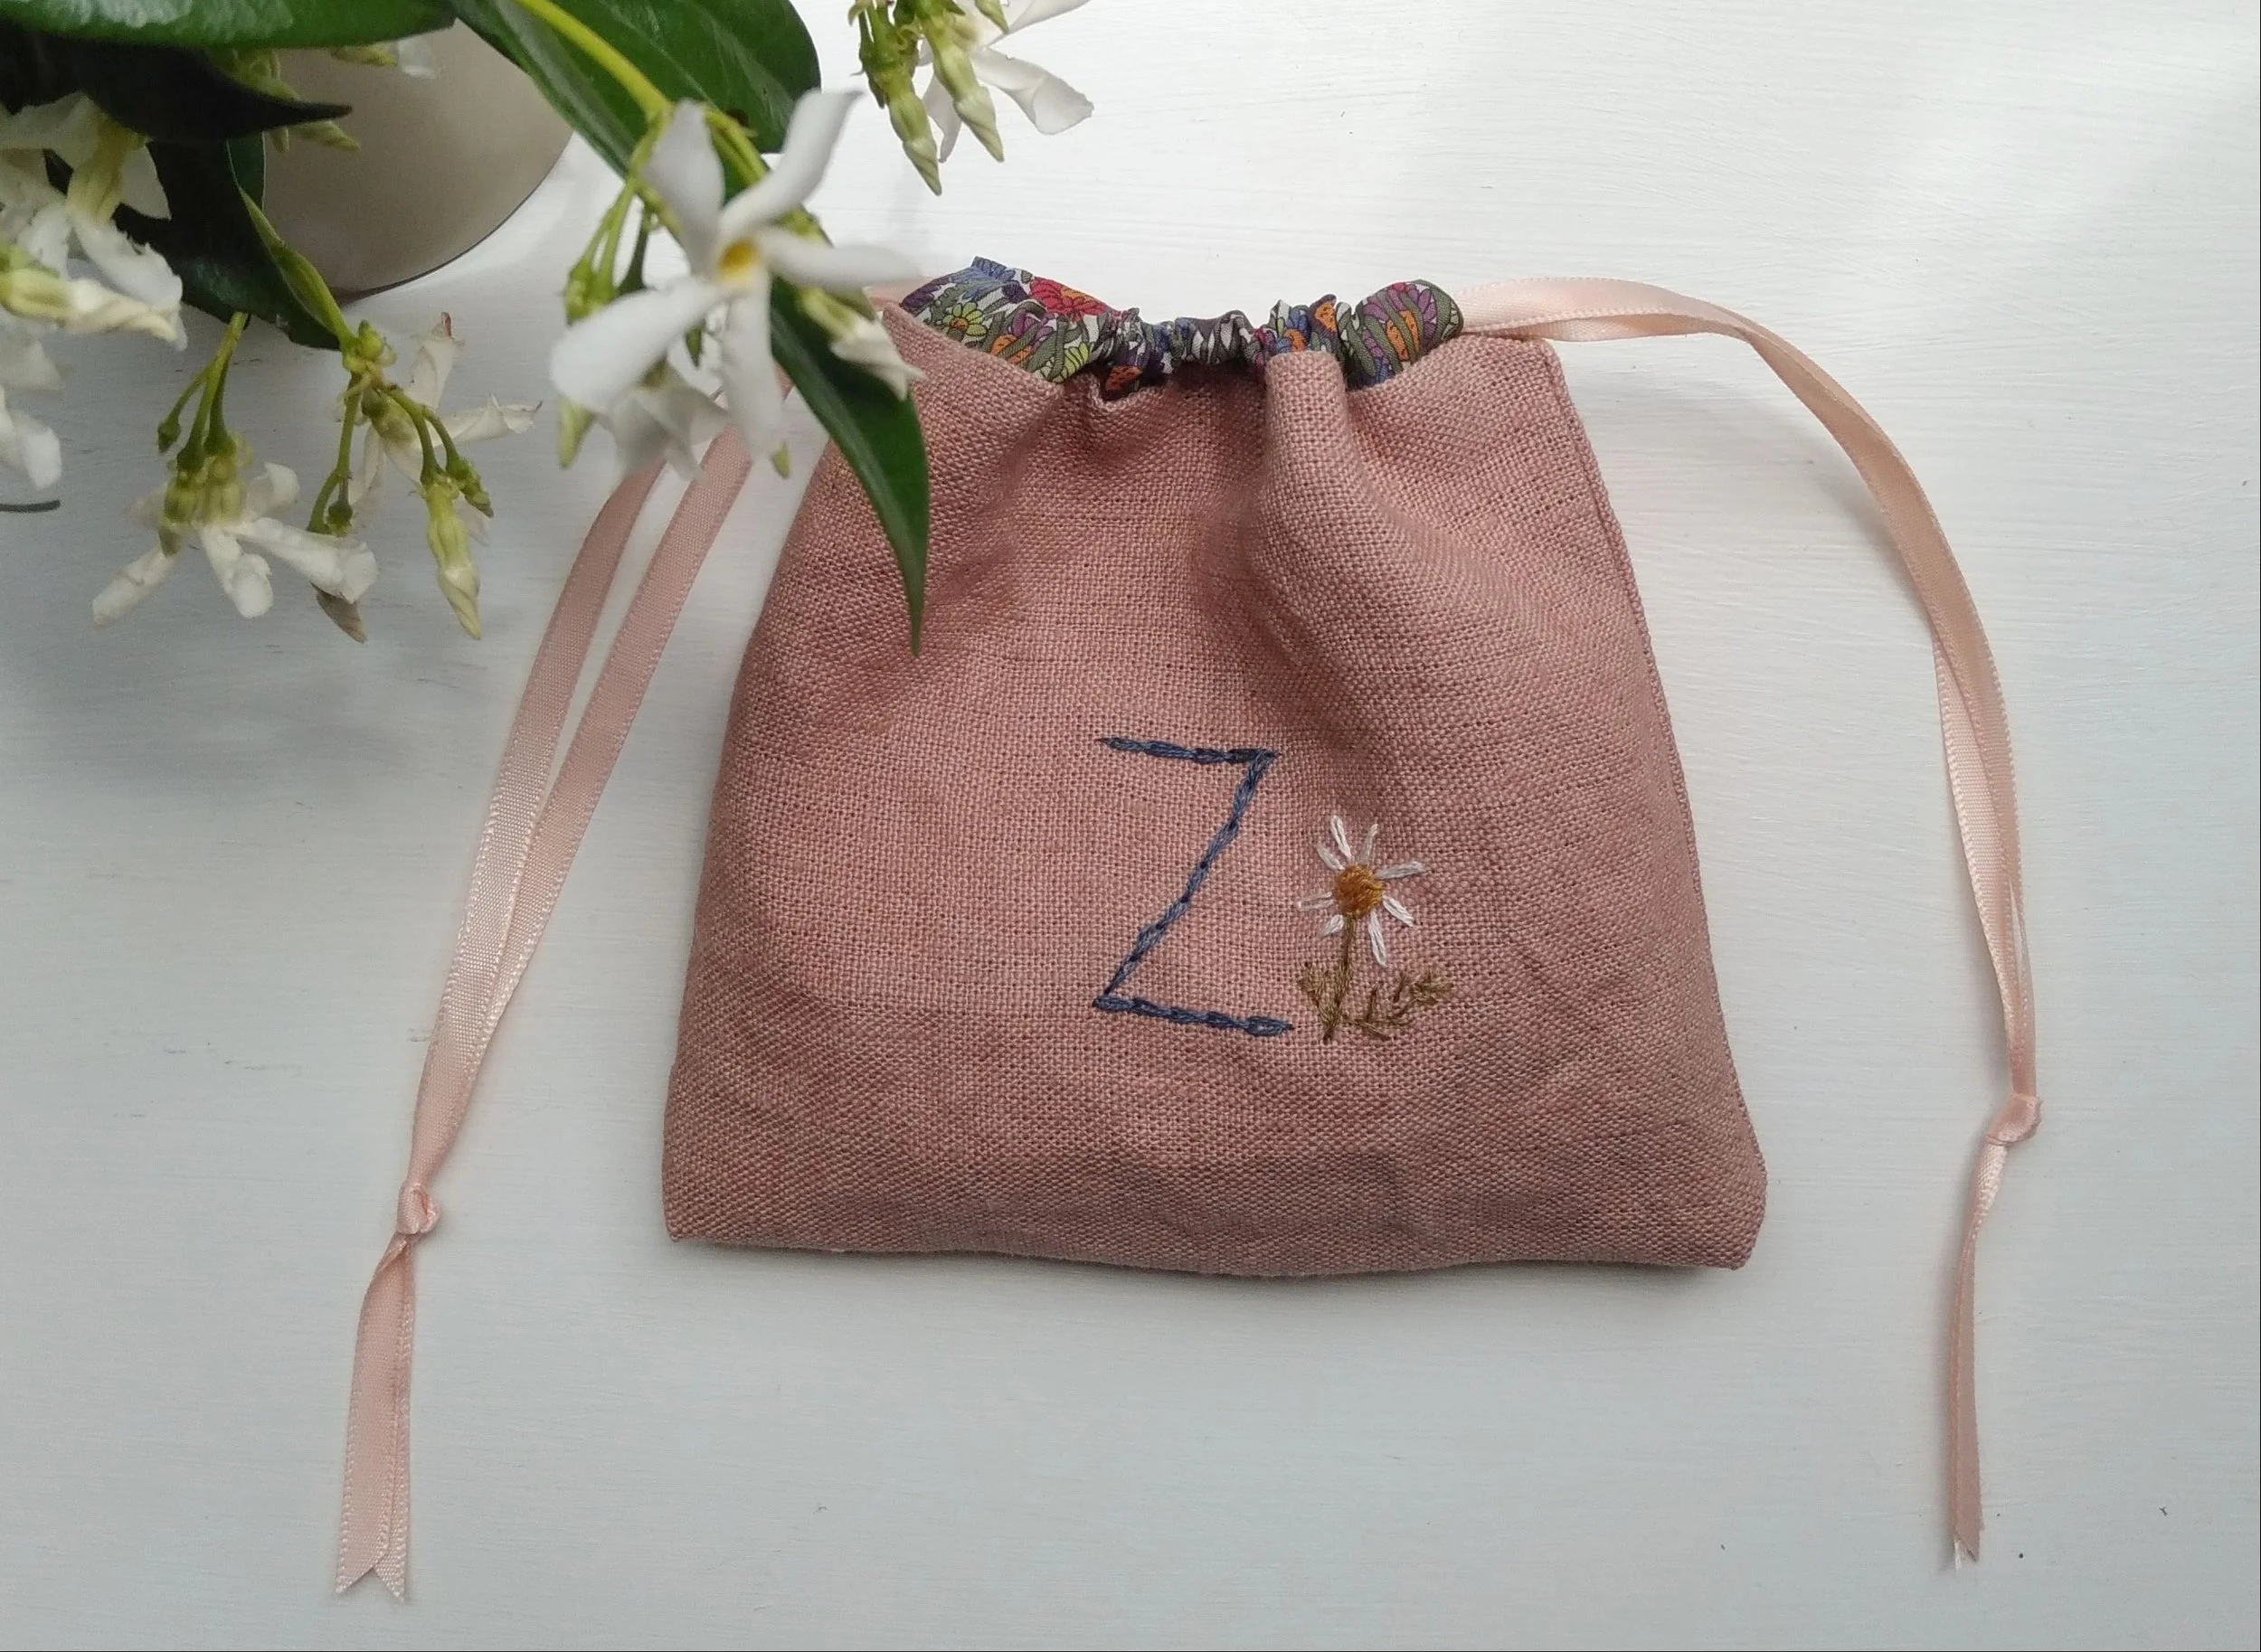
If you'd like to decorate the front of your pouch, now is the time. You could embroider an initial or something else, or applique or add ribbon... whatever you fancy!
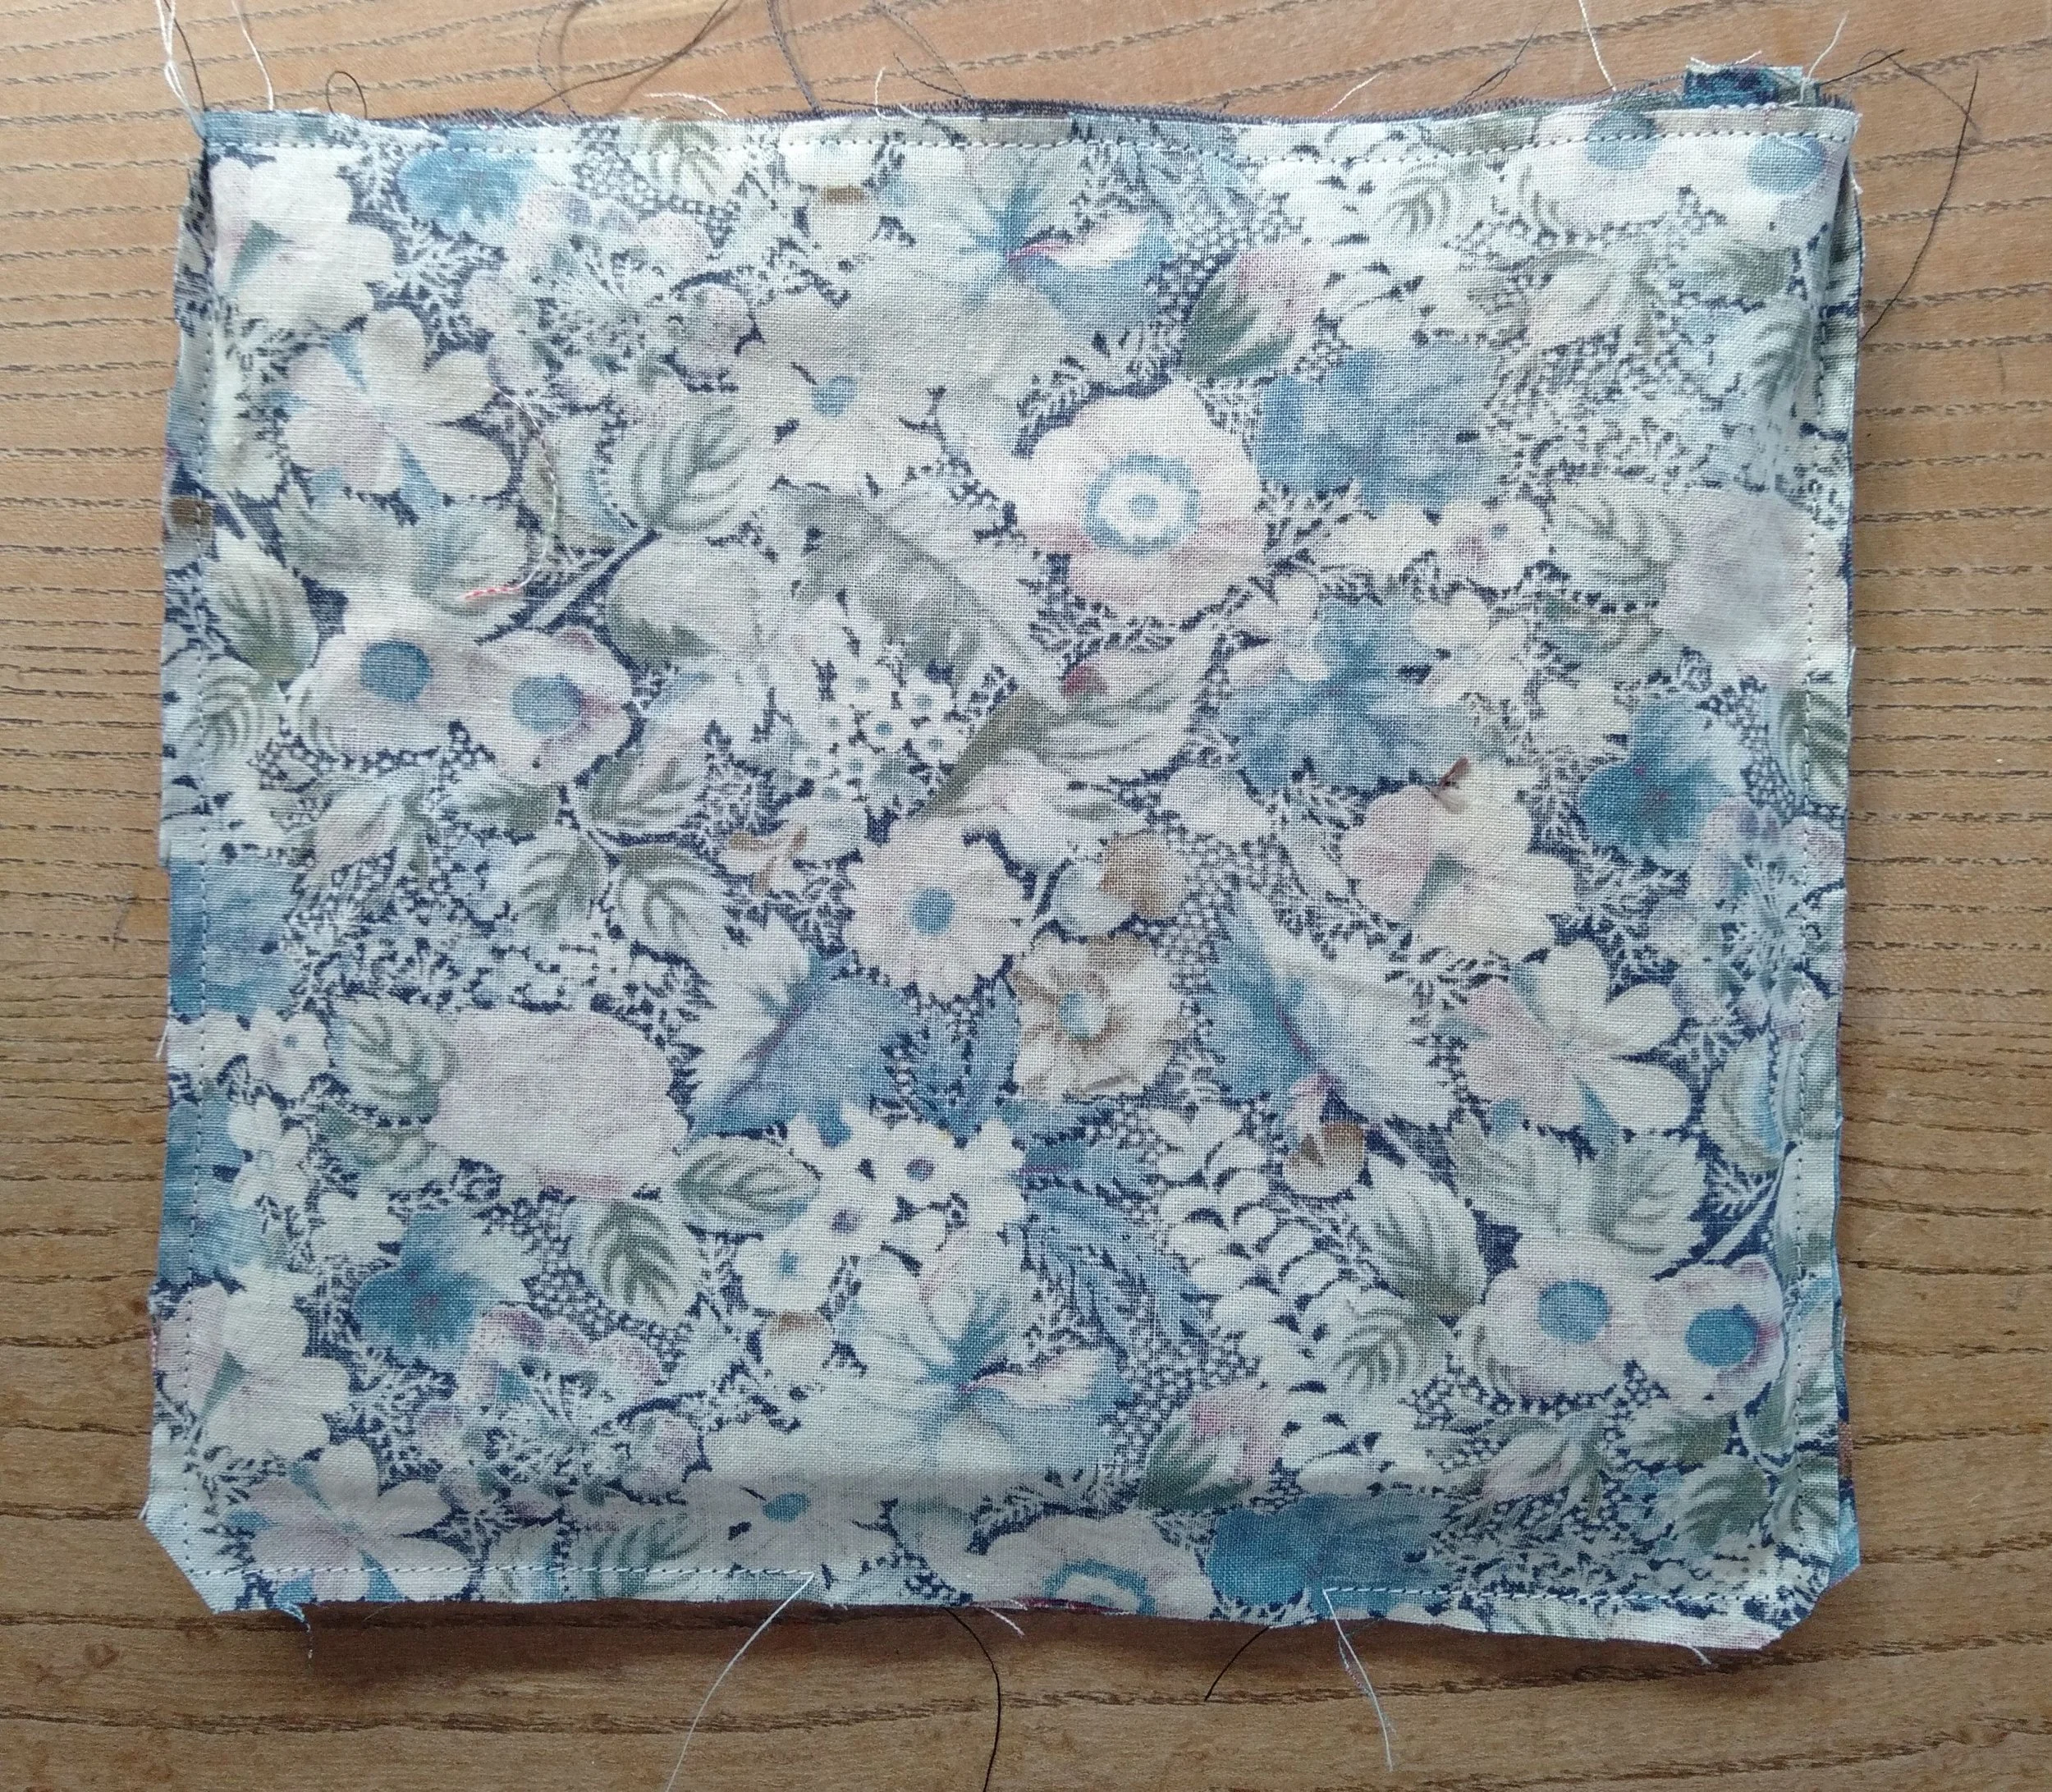
Place outer bag pieces right sides together, pin then stitch around the sides and bottom. Repeat with lining pieces. Clip corners on both, and press. Turn outer bag right side out, push out corners and press again.
Take one casing piece. With raw edges together, pin casing to right side of front of bag outer. The casing should be slightly shorter than the front of the bag outer itself. Centre the casing so there is a small gap at each outer bag side seam. If it's too long, refold the edges and press again.
Stitch the casing to the outer, as close as you can to the raw edge. Take the second casing and repeat the process on the bag outer back piece. It should look like the picture to the right.
You'll need:
Fabric scraps - I recommend something like linen or heavy cotton for the outer bag,
and silk or finer cotton for the lining and casings
A ruler or tape measure, pins, iron, sewing machine, scissors, thread, safety pin
2 x lengths of 22" of a thin cord, narrow cotton tape or ribbon
Embroidery thread, needle and hoop (optional)
Cutting (for a child-size pouch):
Cut out the bag pieces. You'll need:
2 x outer pieces measuring 8" wide X 7" tall
2 x lining pieces measuring 8" wide X 7" tall
2 x casing pieces (this could be the same as your lining fabric, or different) measuring 9.5" wide by 1.5" tall
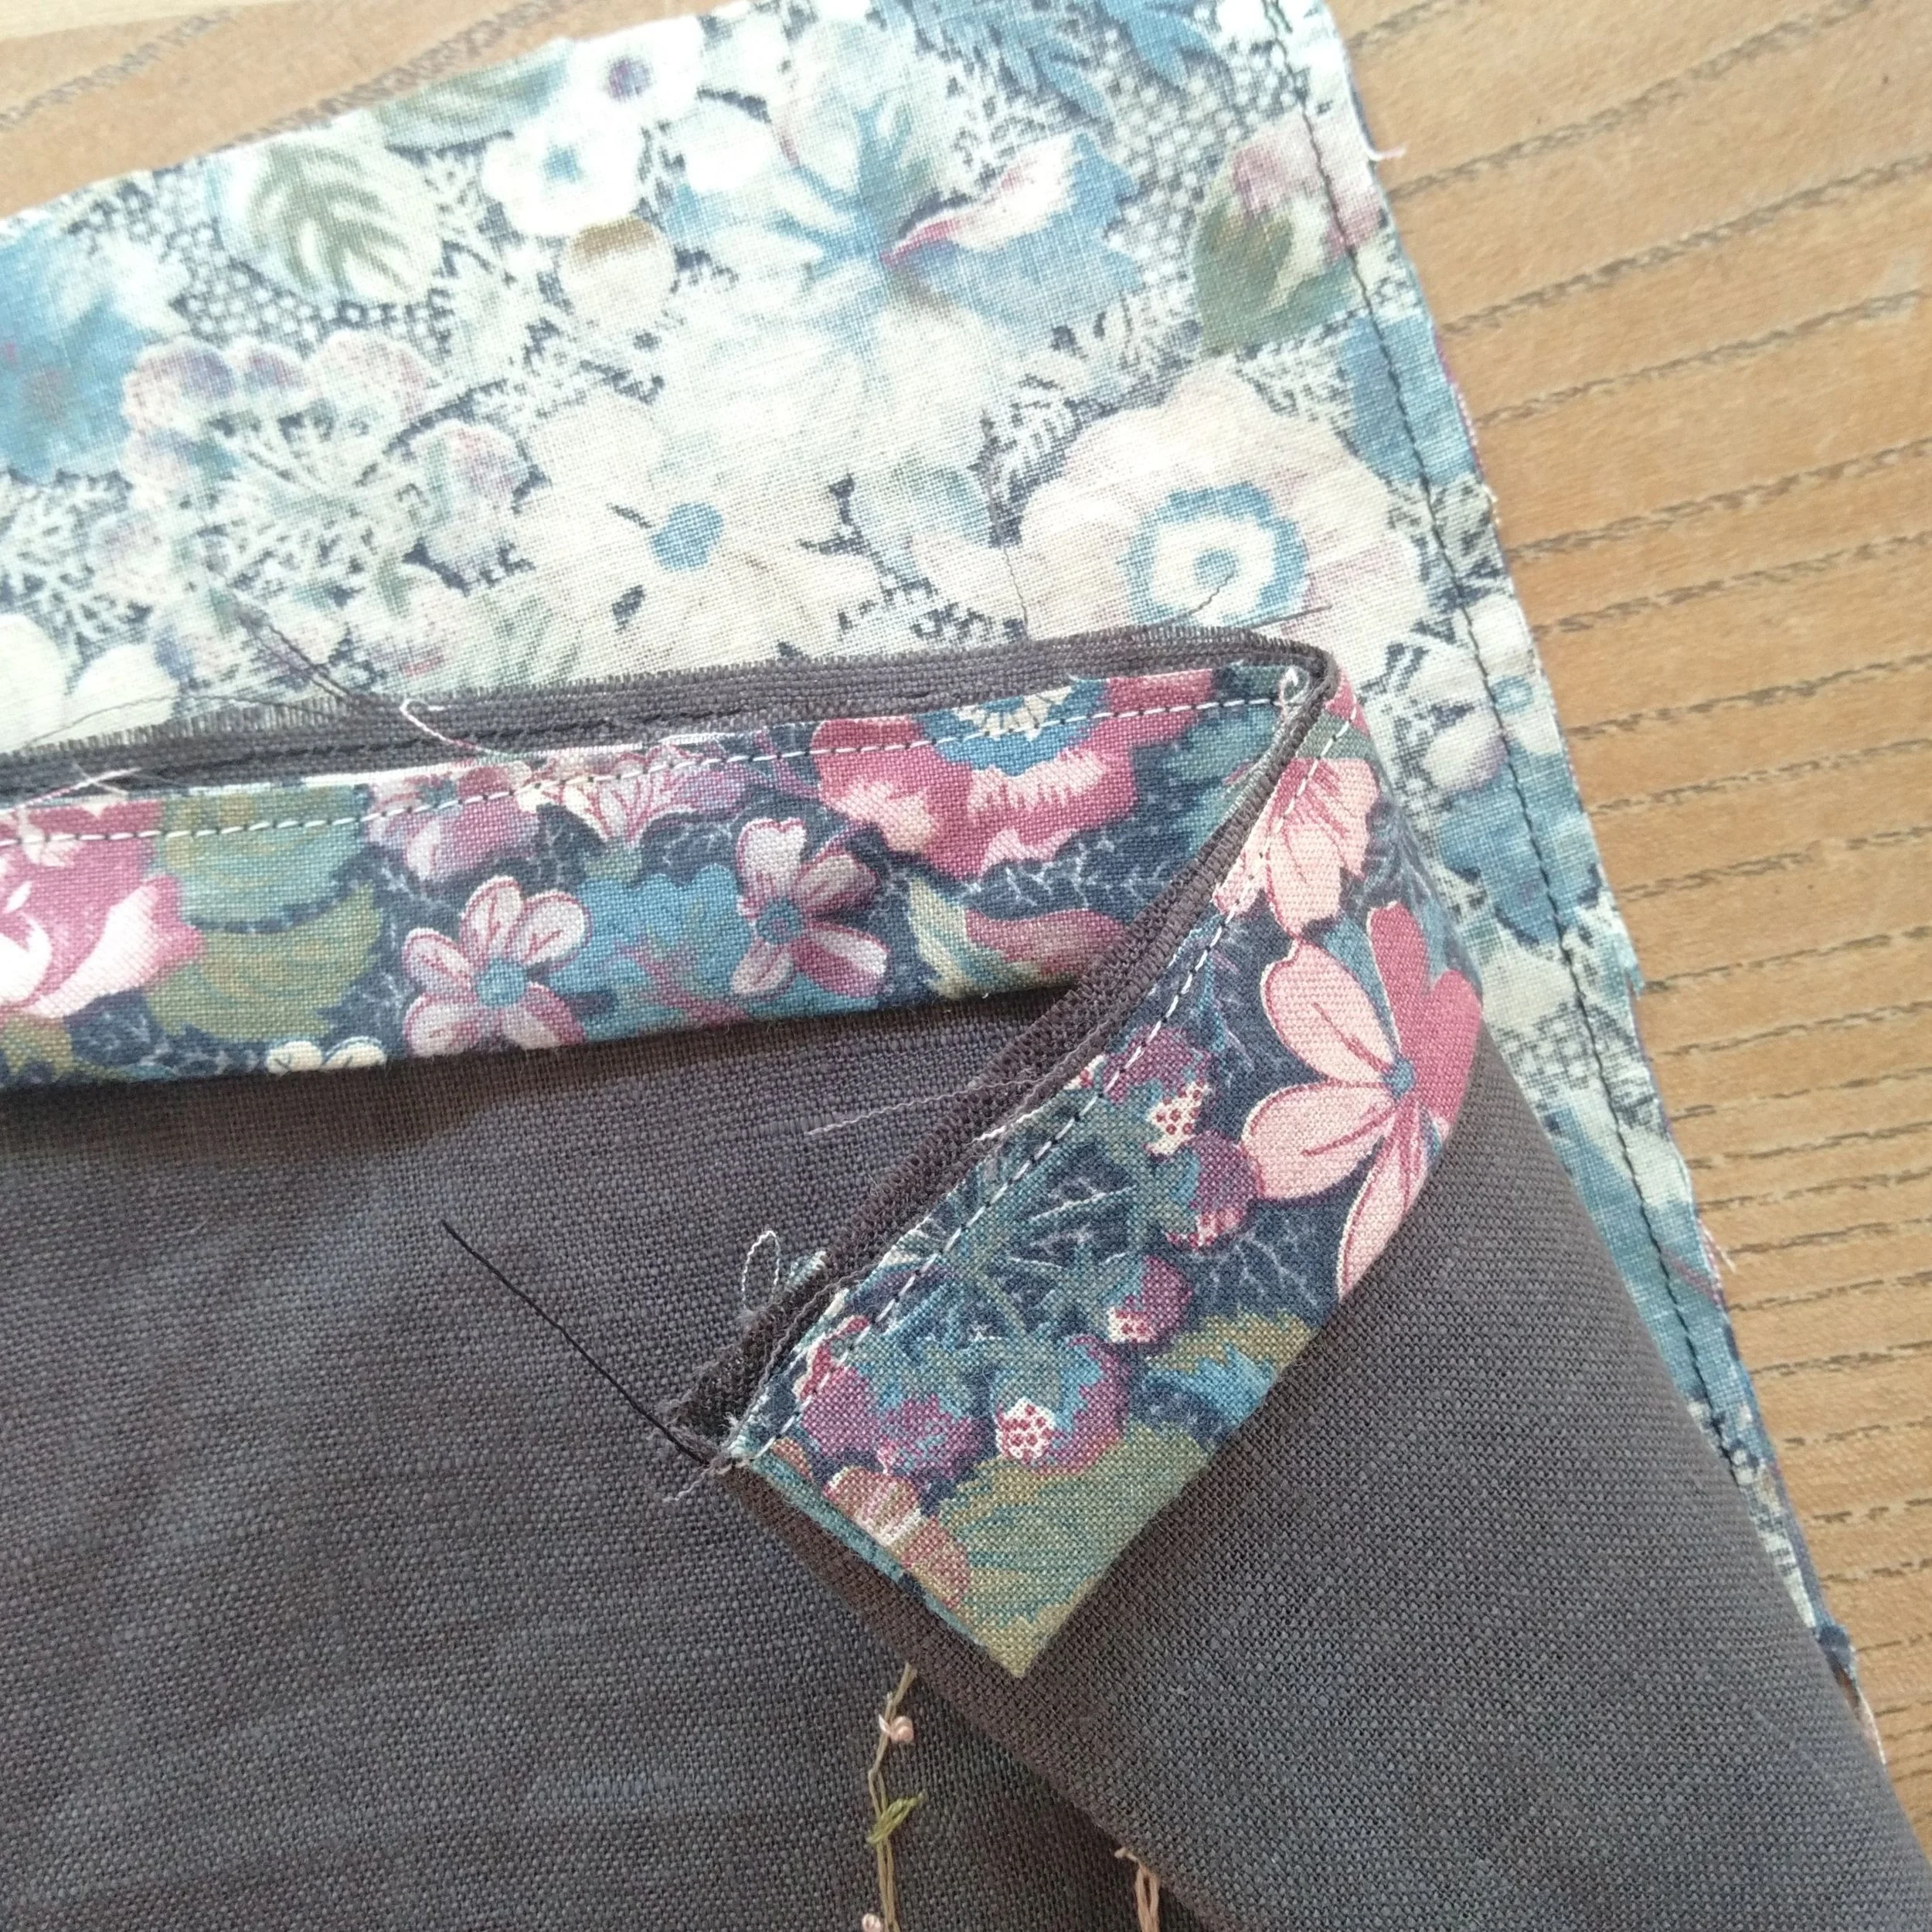
Place the completed bag outer inside the bag lining, right sides together. Match side seams and pin in place.
With a 1/4" seam, stitch around the entire top of the bag, catching all the layers together. It should look like the picture on the left.
Turn the bag right-side out through the gap you left in the lining base. Press everything and check the casings are sewn neatly.
Push the lining inside the outer and press the casings so they are pointing up and away from the bag outer. Hand-stitch lining gap closed.
Cut one piece of ribbon and attach the safety pin to the end. Thread it through one casing opening, then through the second, and tie the ends in a secure knot. Insert the second piece of cord in the same manner but in reverse, through the other casing opening. All done!