lined knot bag
You will need:
:: linen or another medium-weight fabric :: lightweight cotton for lining :: sewing machine :: scissors, needle and thread :: tape measure or ruler :: iron :: pins :: embroidery thread to match :: pinking shears or overlocker (optional) ::
Preparing the fabric:
Cut two strips of fabric, one from the linen and one from cotton. The length of the strip should measure three times the width. For example, the strips could measure 10" X 30" (this would produce a large bag) or 9" X 27" (which produces my favourite size).
For the ease of photographing this tutorial, I've used strips measuring 7" X 21", which will make a smaller bag - a good size for a sock-knit-in-progress.
Note: this project was first published on ‘tiny happy’ back in 2016, and has been lightly edited.
Construction:
Press the fabric strips and make sure they're exactly the same size. Place right sides together, pin and sew around the edge with a 1/4" seam, leaving a gap for turning near a corner on one of the long edges.
Press seams and trim the corners carefully. Also trim any extra fabric from the seam allowance as it's best not to have any bulk. Turn right-side out and press the piece well, especially in the corners, using a pencil or knitting needle to ensure they’re pushed out completely. Carefully press down the gap you left for turning.
Lay the piece out on a flat surface, linen (outer) side up, so that the long edge with the gap is along the top. Fold the strip into thirds, and press again so you have two creases marking each section. Then unfold the strip again.
4. Take the upper-right corner of the strip and fold it so that the corner matches up to the upper-left corner of the middle segment. See photo, right (noting the floral fabric is the lining).
5. Pin, making sure you'll enclose the gap when you sew. Sew across this part, reversing at either end. Try to sew as closely as you can to the edge.
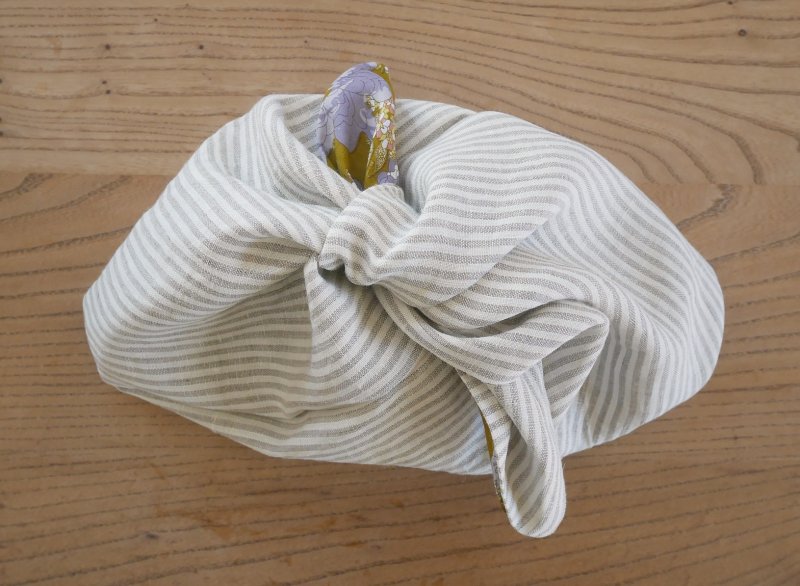
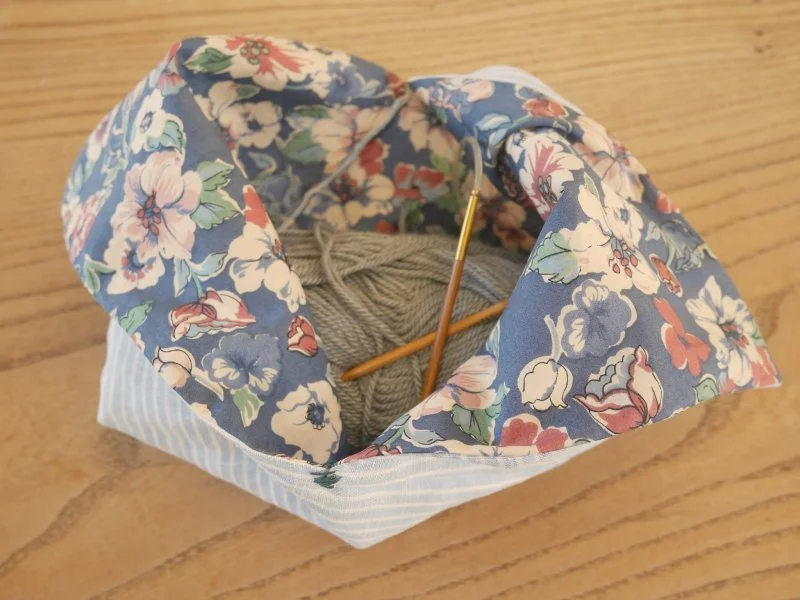
I love these simple little bags, and have been making them to keep my knitting projects safe and tangle-free. A small version is perfect for in-progress socks, but it's easy to up-size the pattern as I've described below.
Inspired by Japanese bento and furoshiki and sometimes known as azuma bukuro, these bags can function as the ultimate reusable gift-wrap.
At first, I made them from a single piece of linen, but then I decided a soft cotton lining would be even better.
Here's a tutorial so you can make one too. You don't have to use linen or cotton, but I like the way the weights of these fabrics work together. Choose a light to medium-weight fabric for the bag outer, and a lightweight piece for the lining.
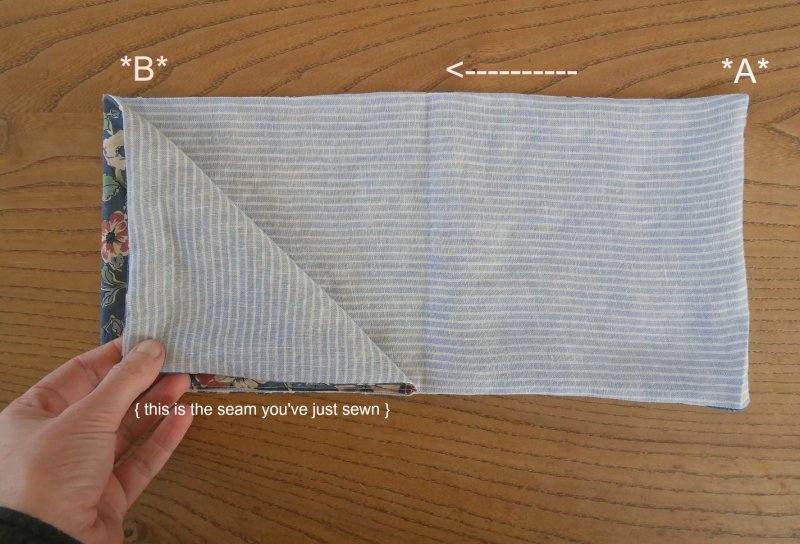
8. Now it should look like this (lining side out) - - - - —>
9. Press all the interior seams well so they sit as flat as possible.
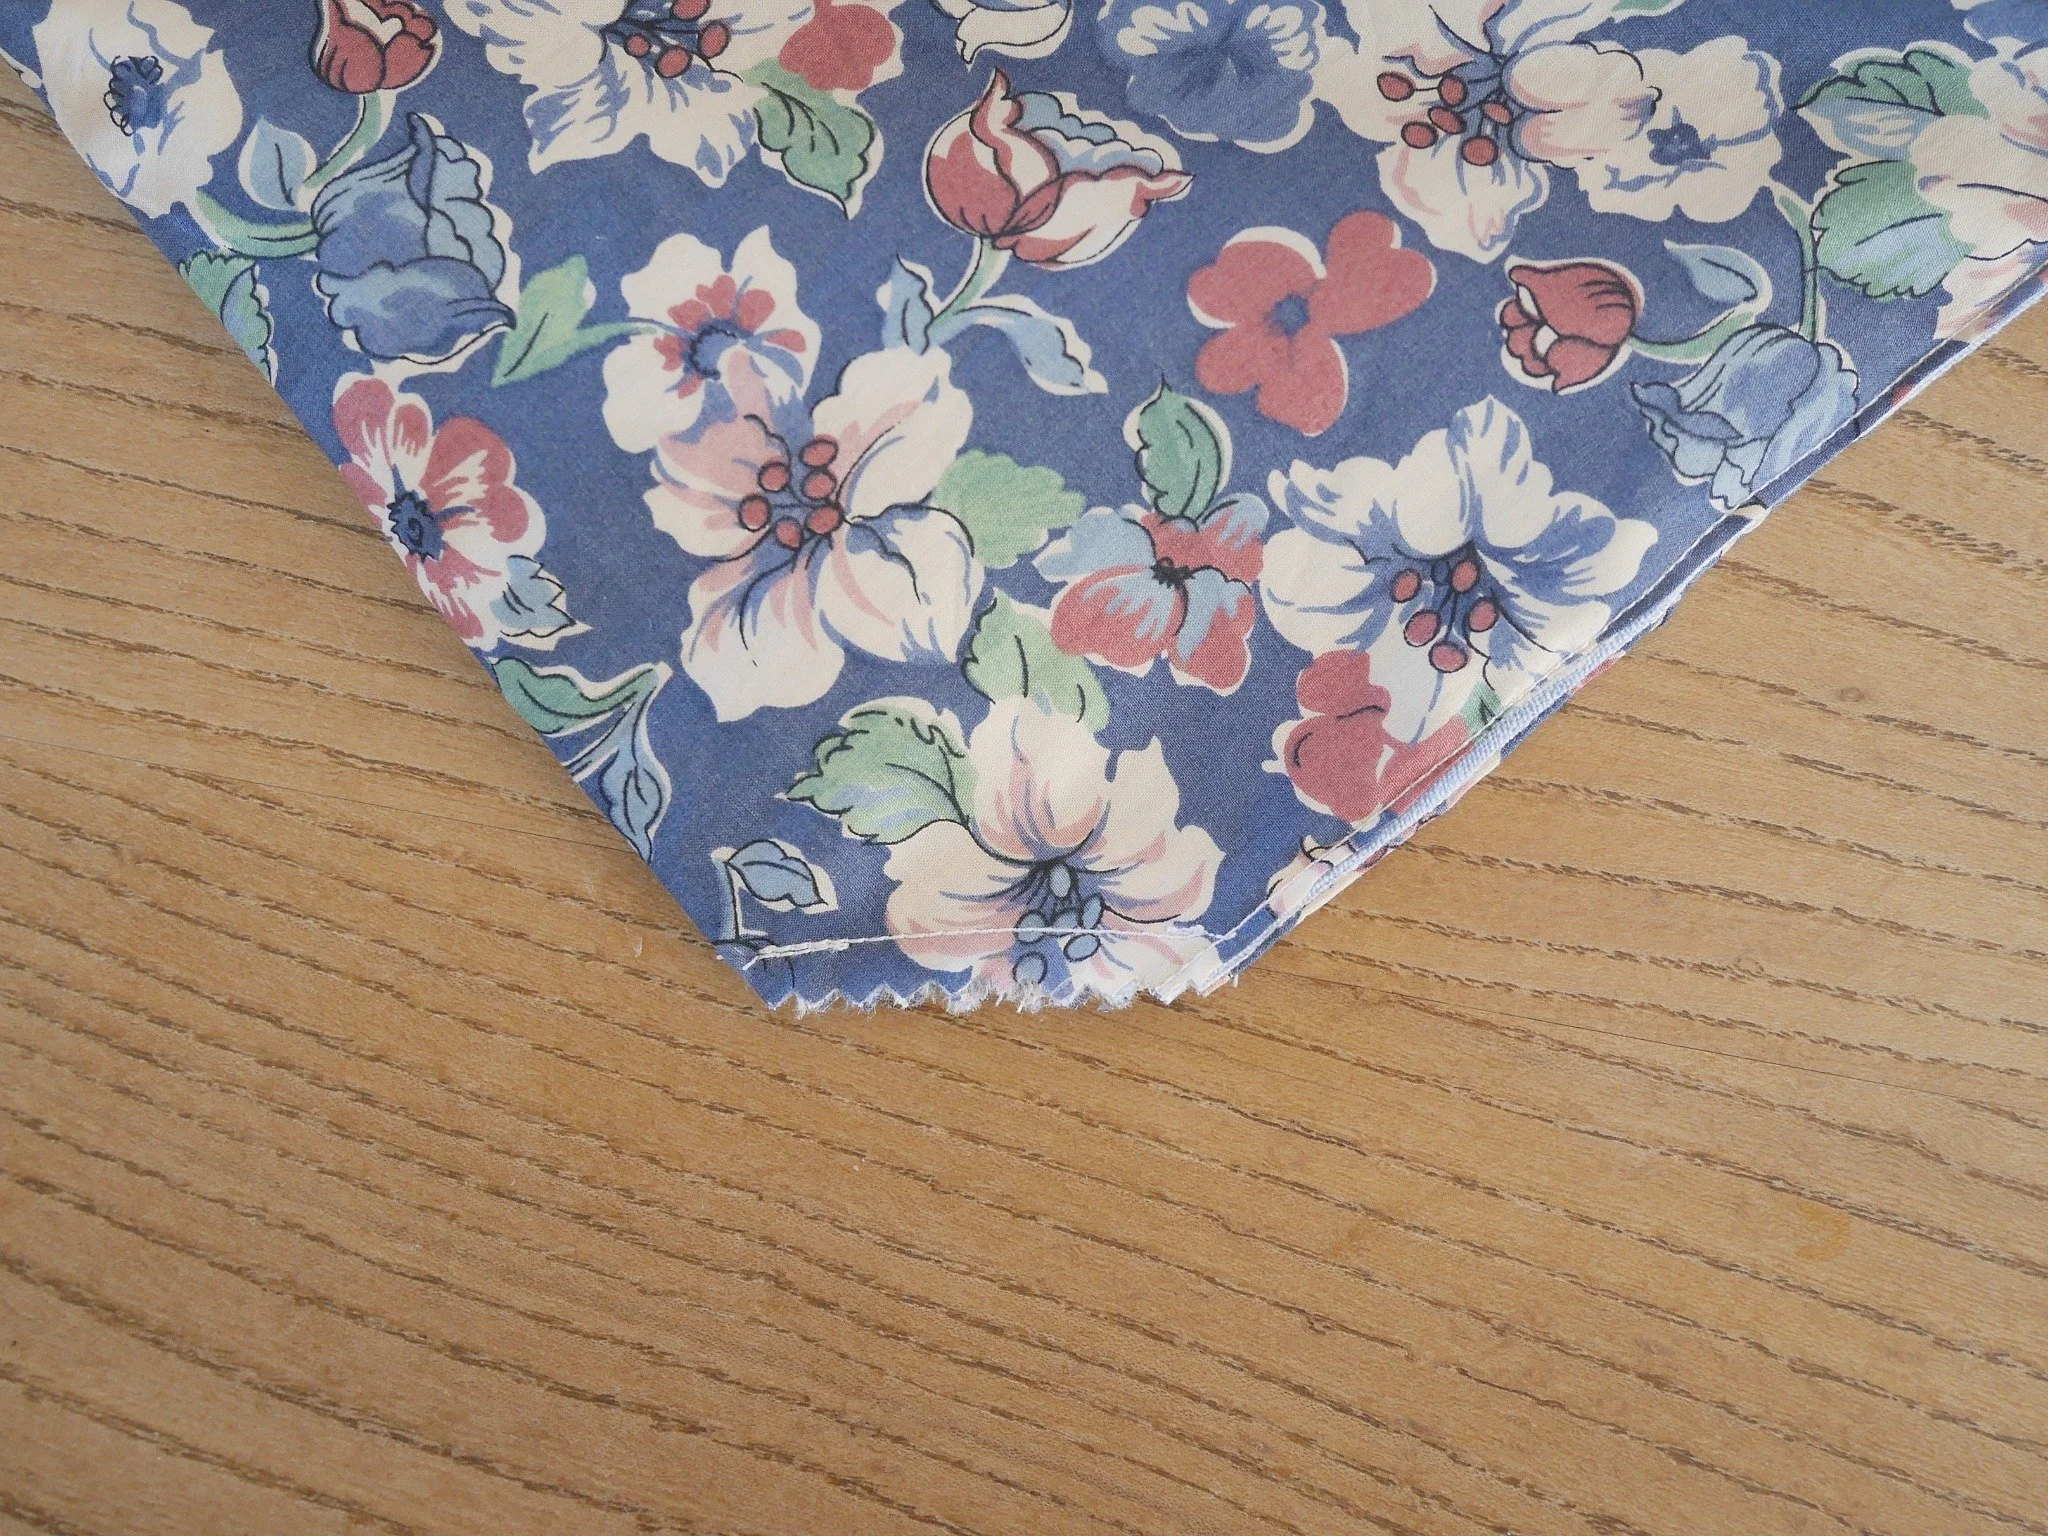
10. Square off the corners if you like, by sewing across them like in the photo below. Do this to both corners, and remember to reverse at either end of the seam. Because these are going to be raw edges inside the bag, you can either leave them as is or snip them off with pinking shears, or overlocking the raw edges (being careful to weave the ends of the overlocked threads in the seam).
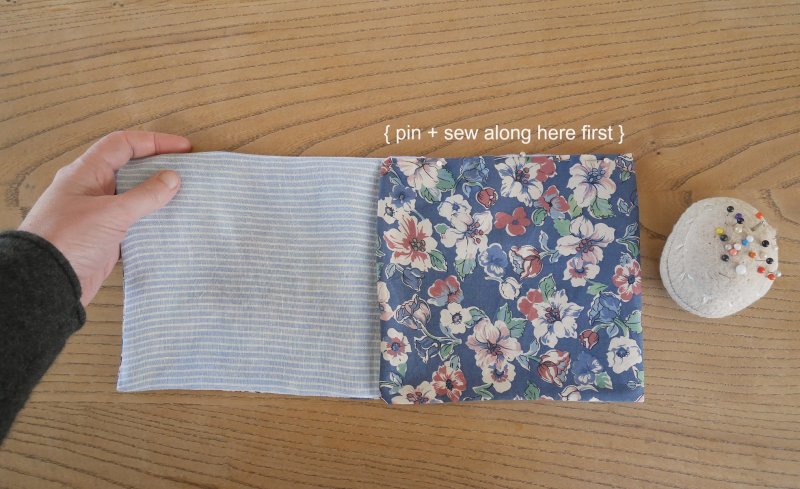
6. Now flip the piece around so that the sewn edge is facing towards you, and fold the corner down to meet it, as in the picture on the left.
7. Take the corner marked as A, and match it up to B, linen sides facing each other. Keep the diagonal fold out of the way. Pin along this seam and sew close to the edge, reversing at either end.
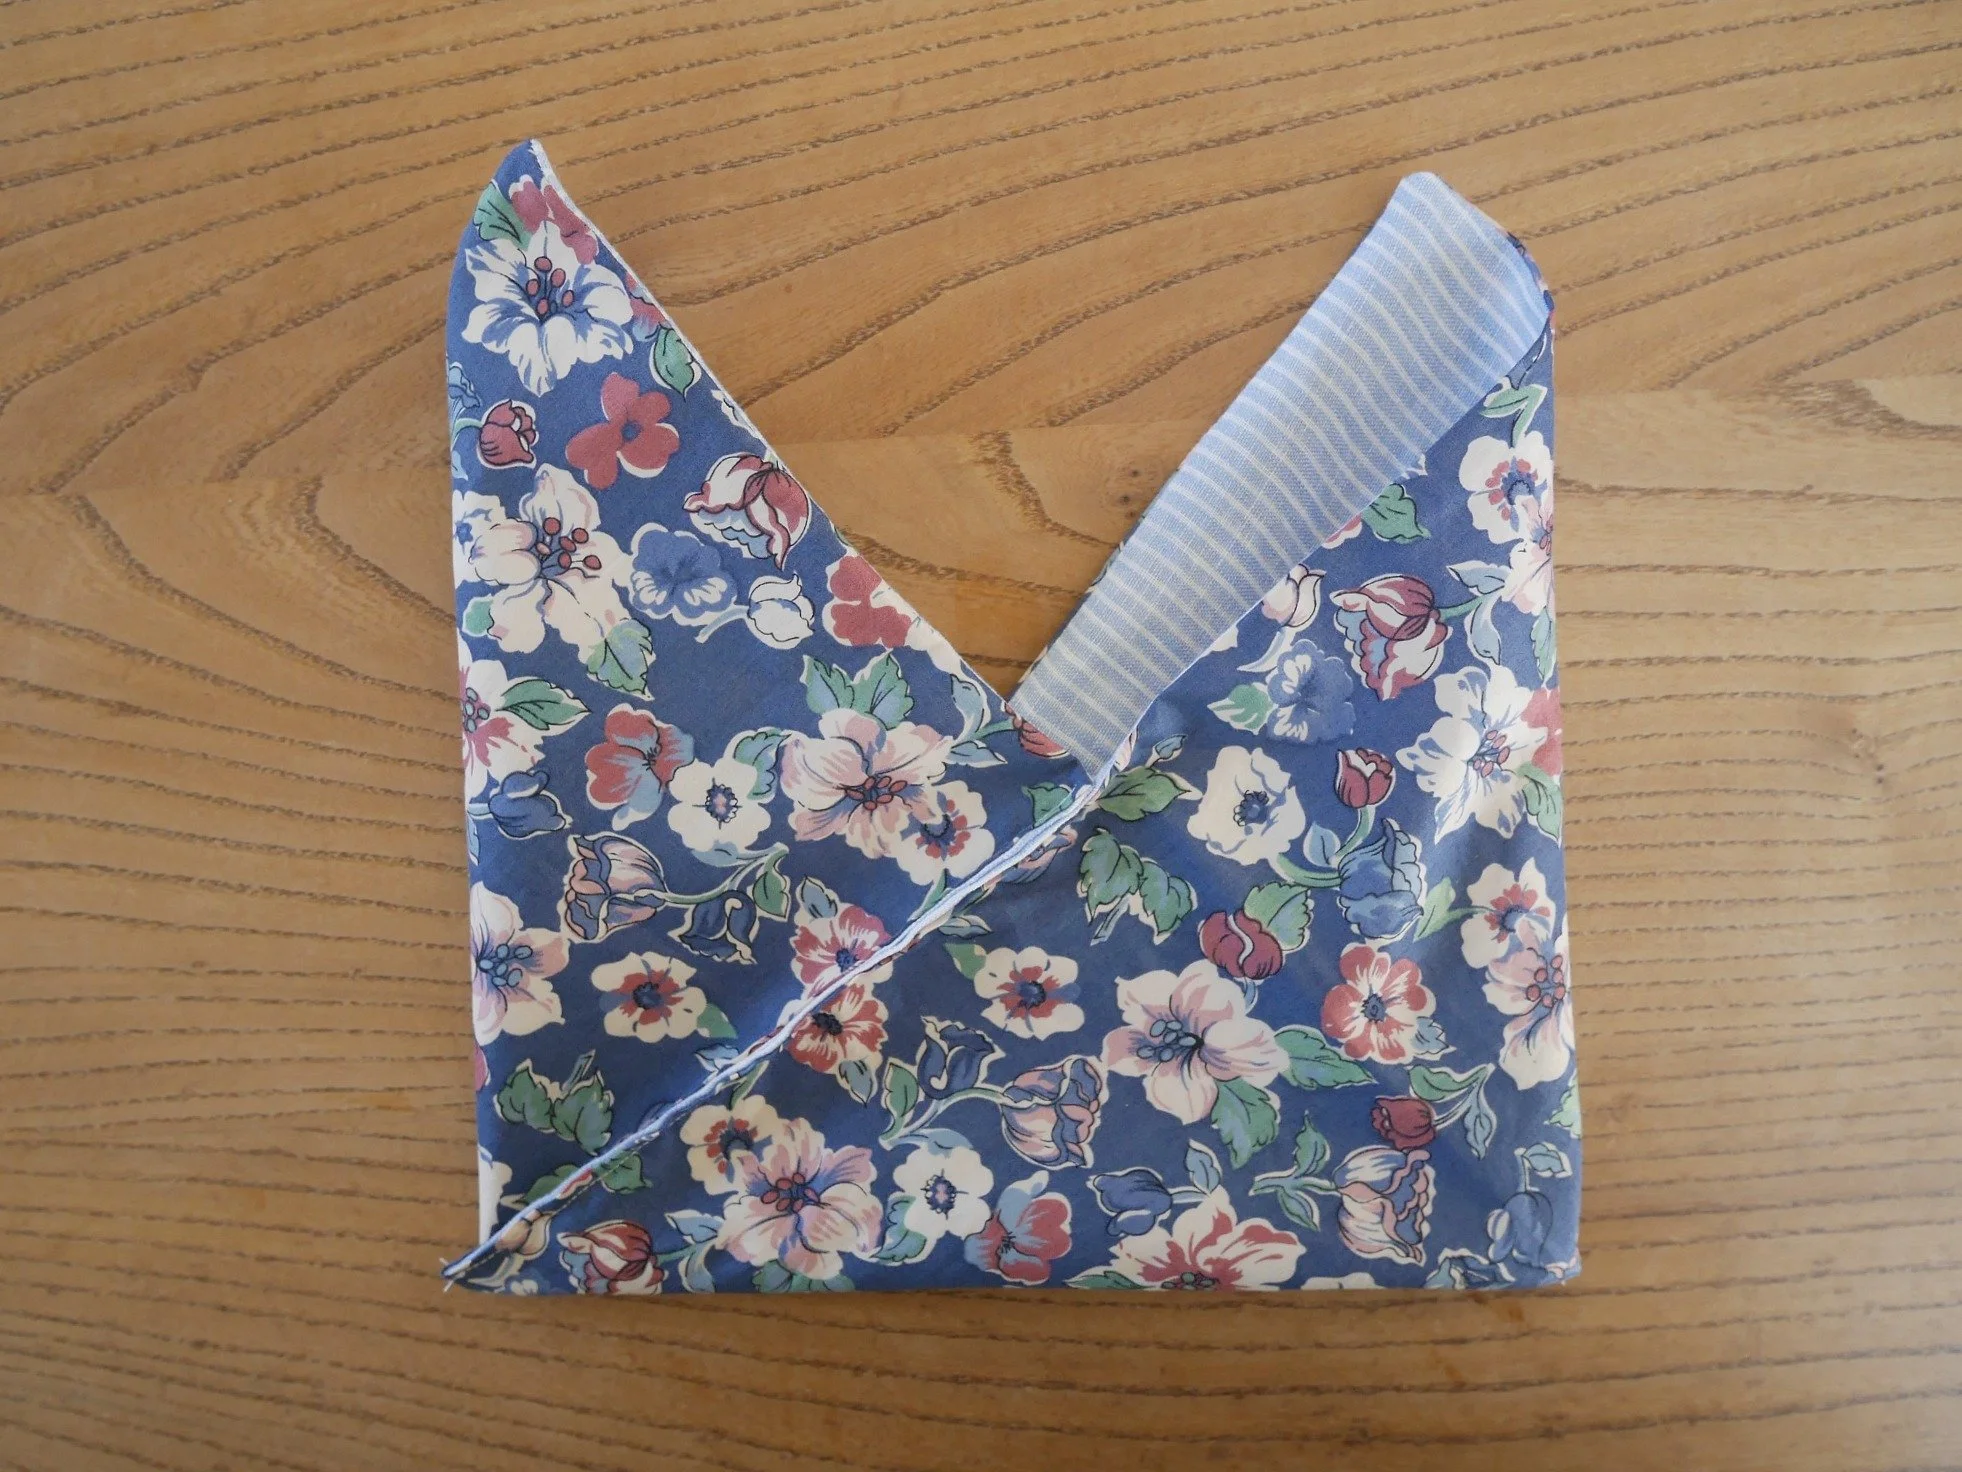
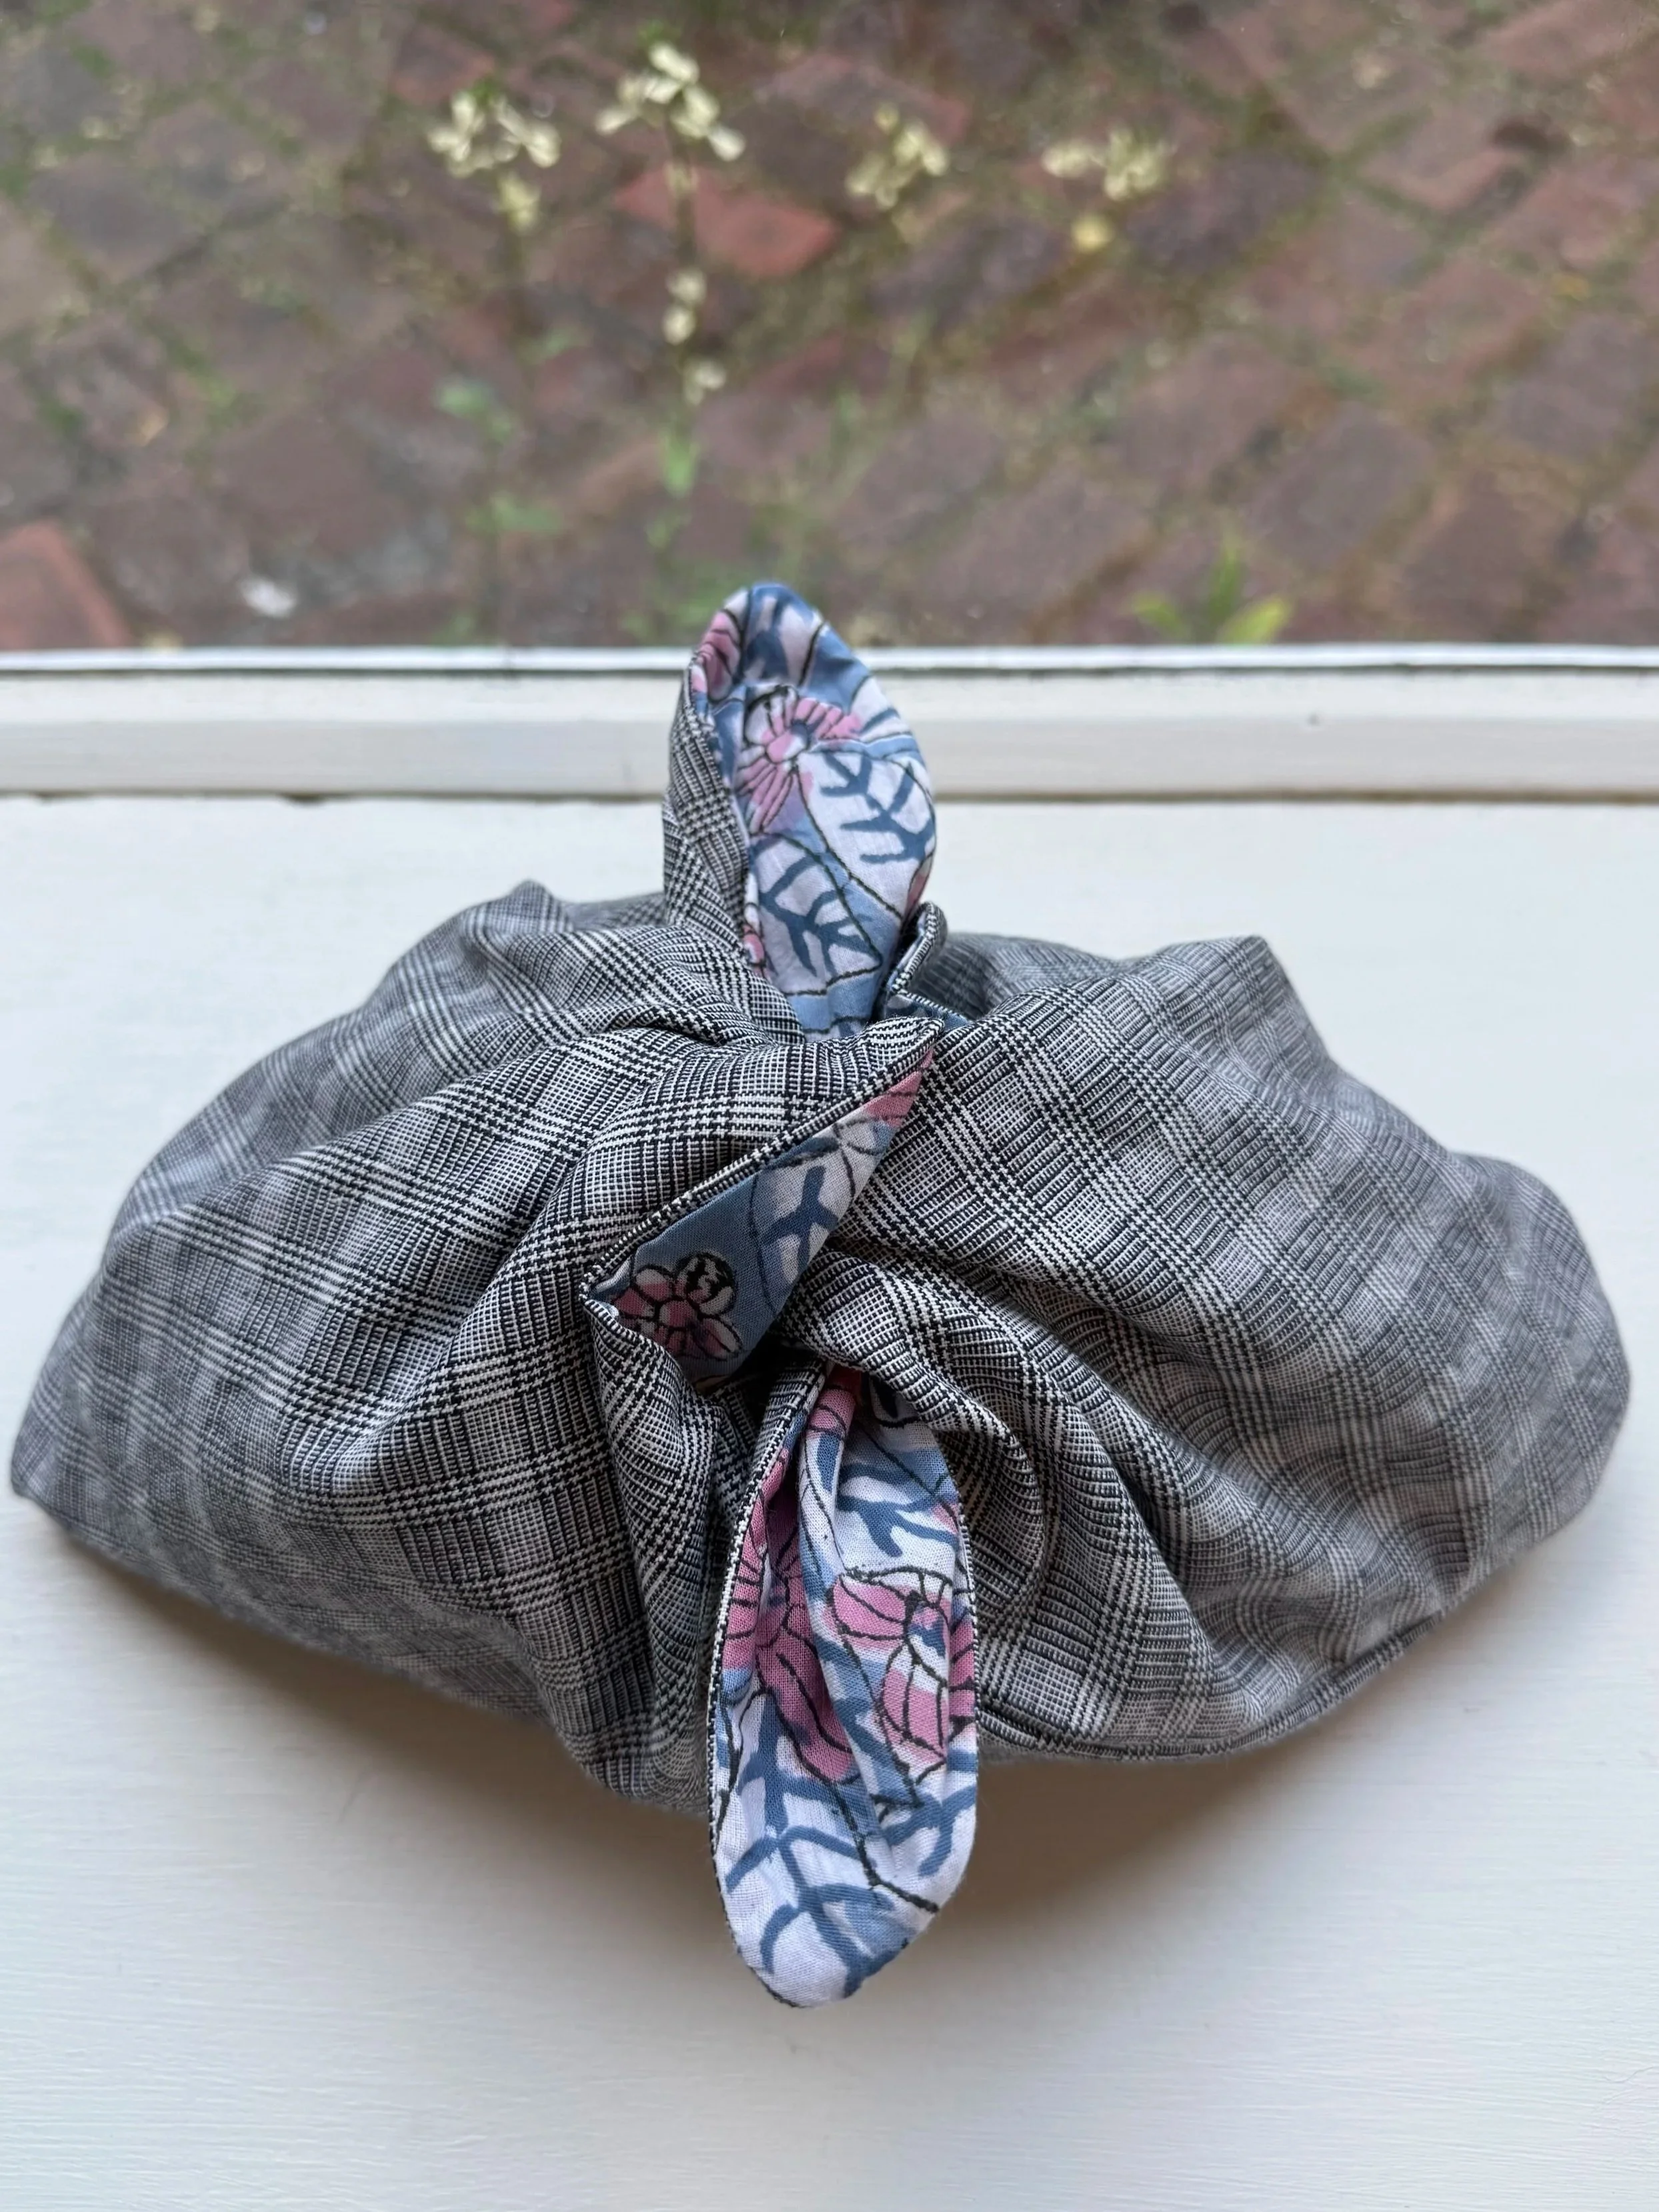
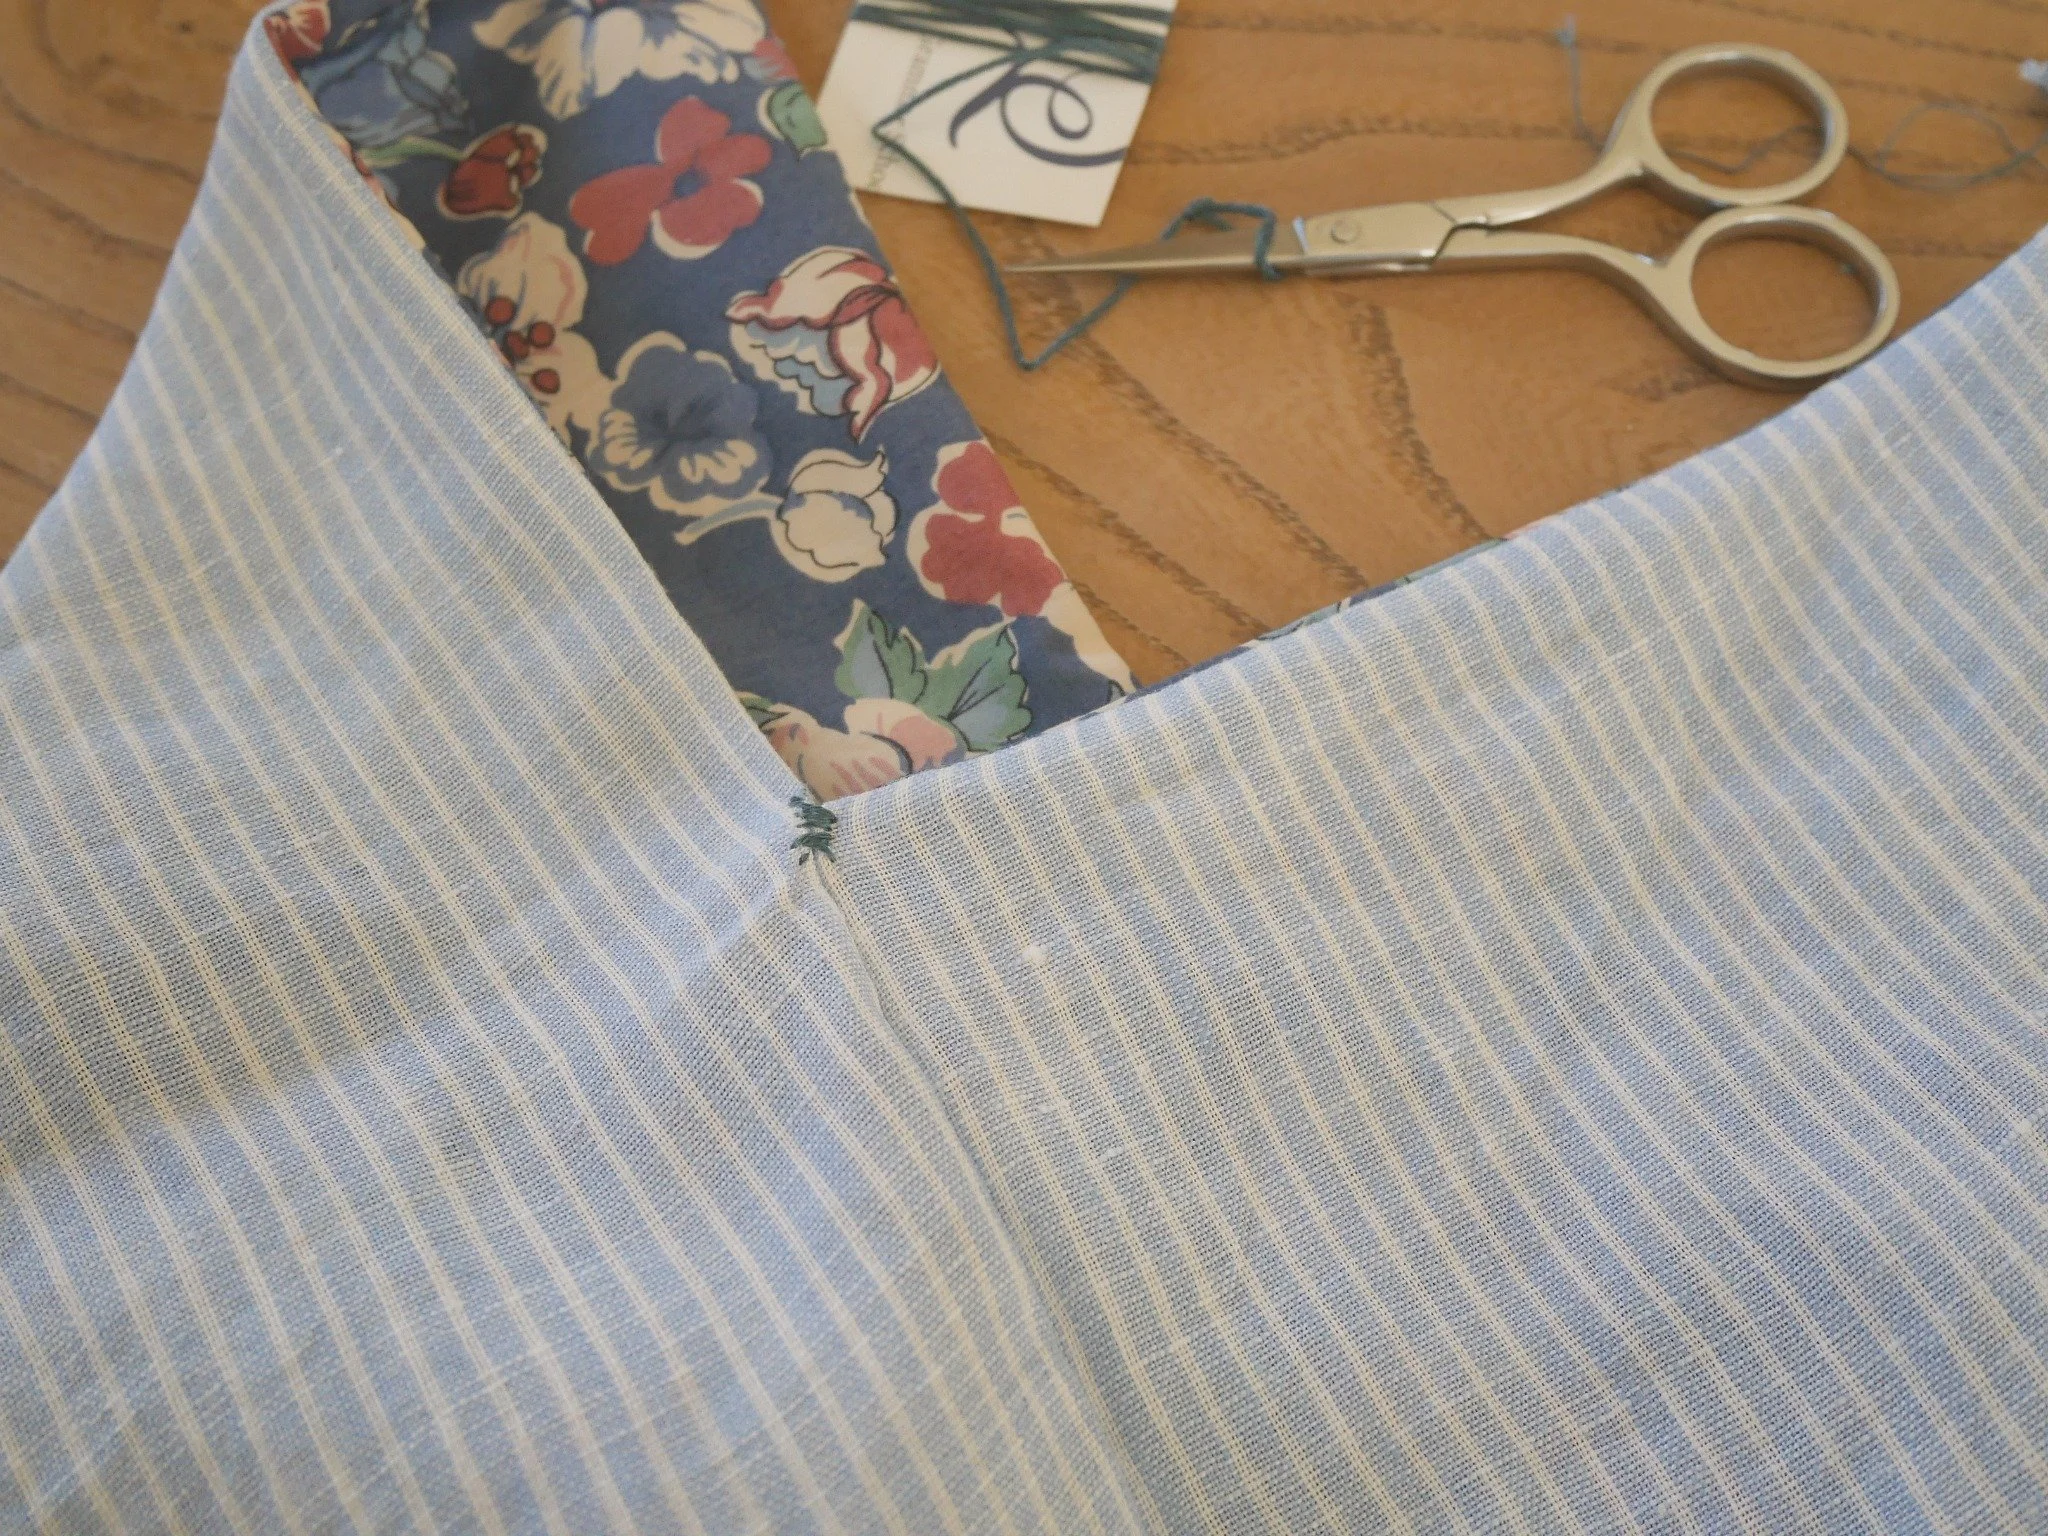
11. Turn your knot bag inside out and press it well. At this point, you could also add some hand-stitching to reinforce the two points where the bag pieces intersect:
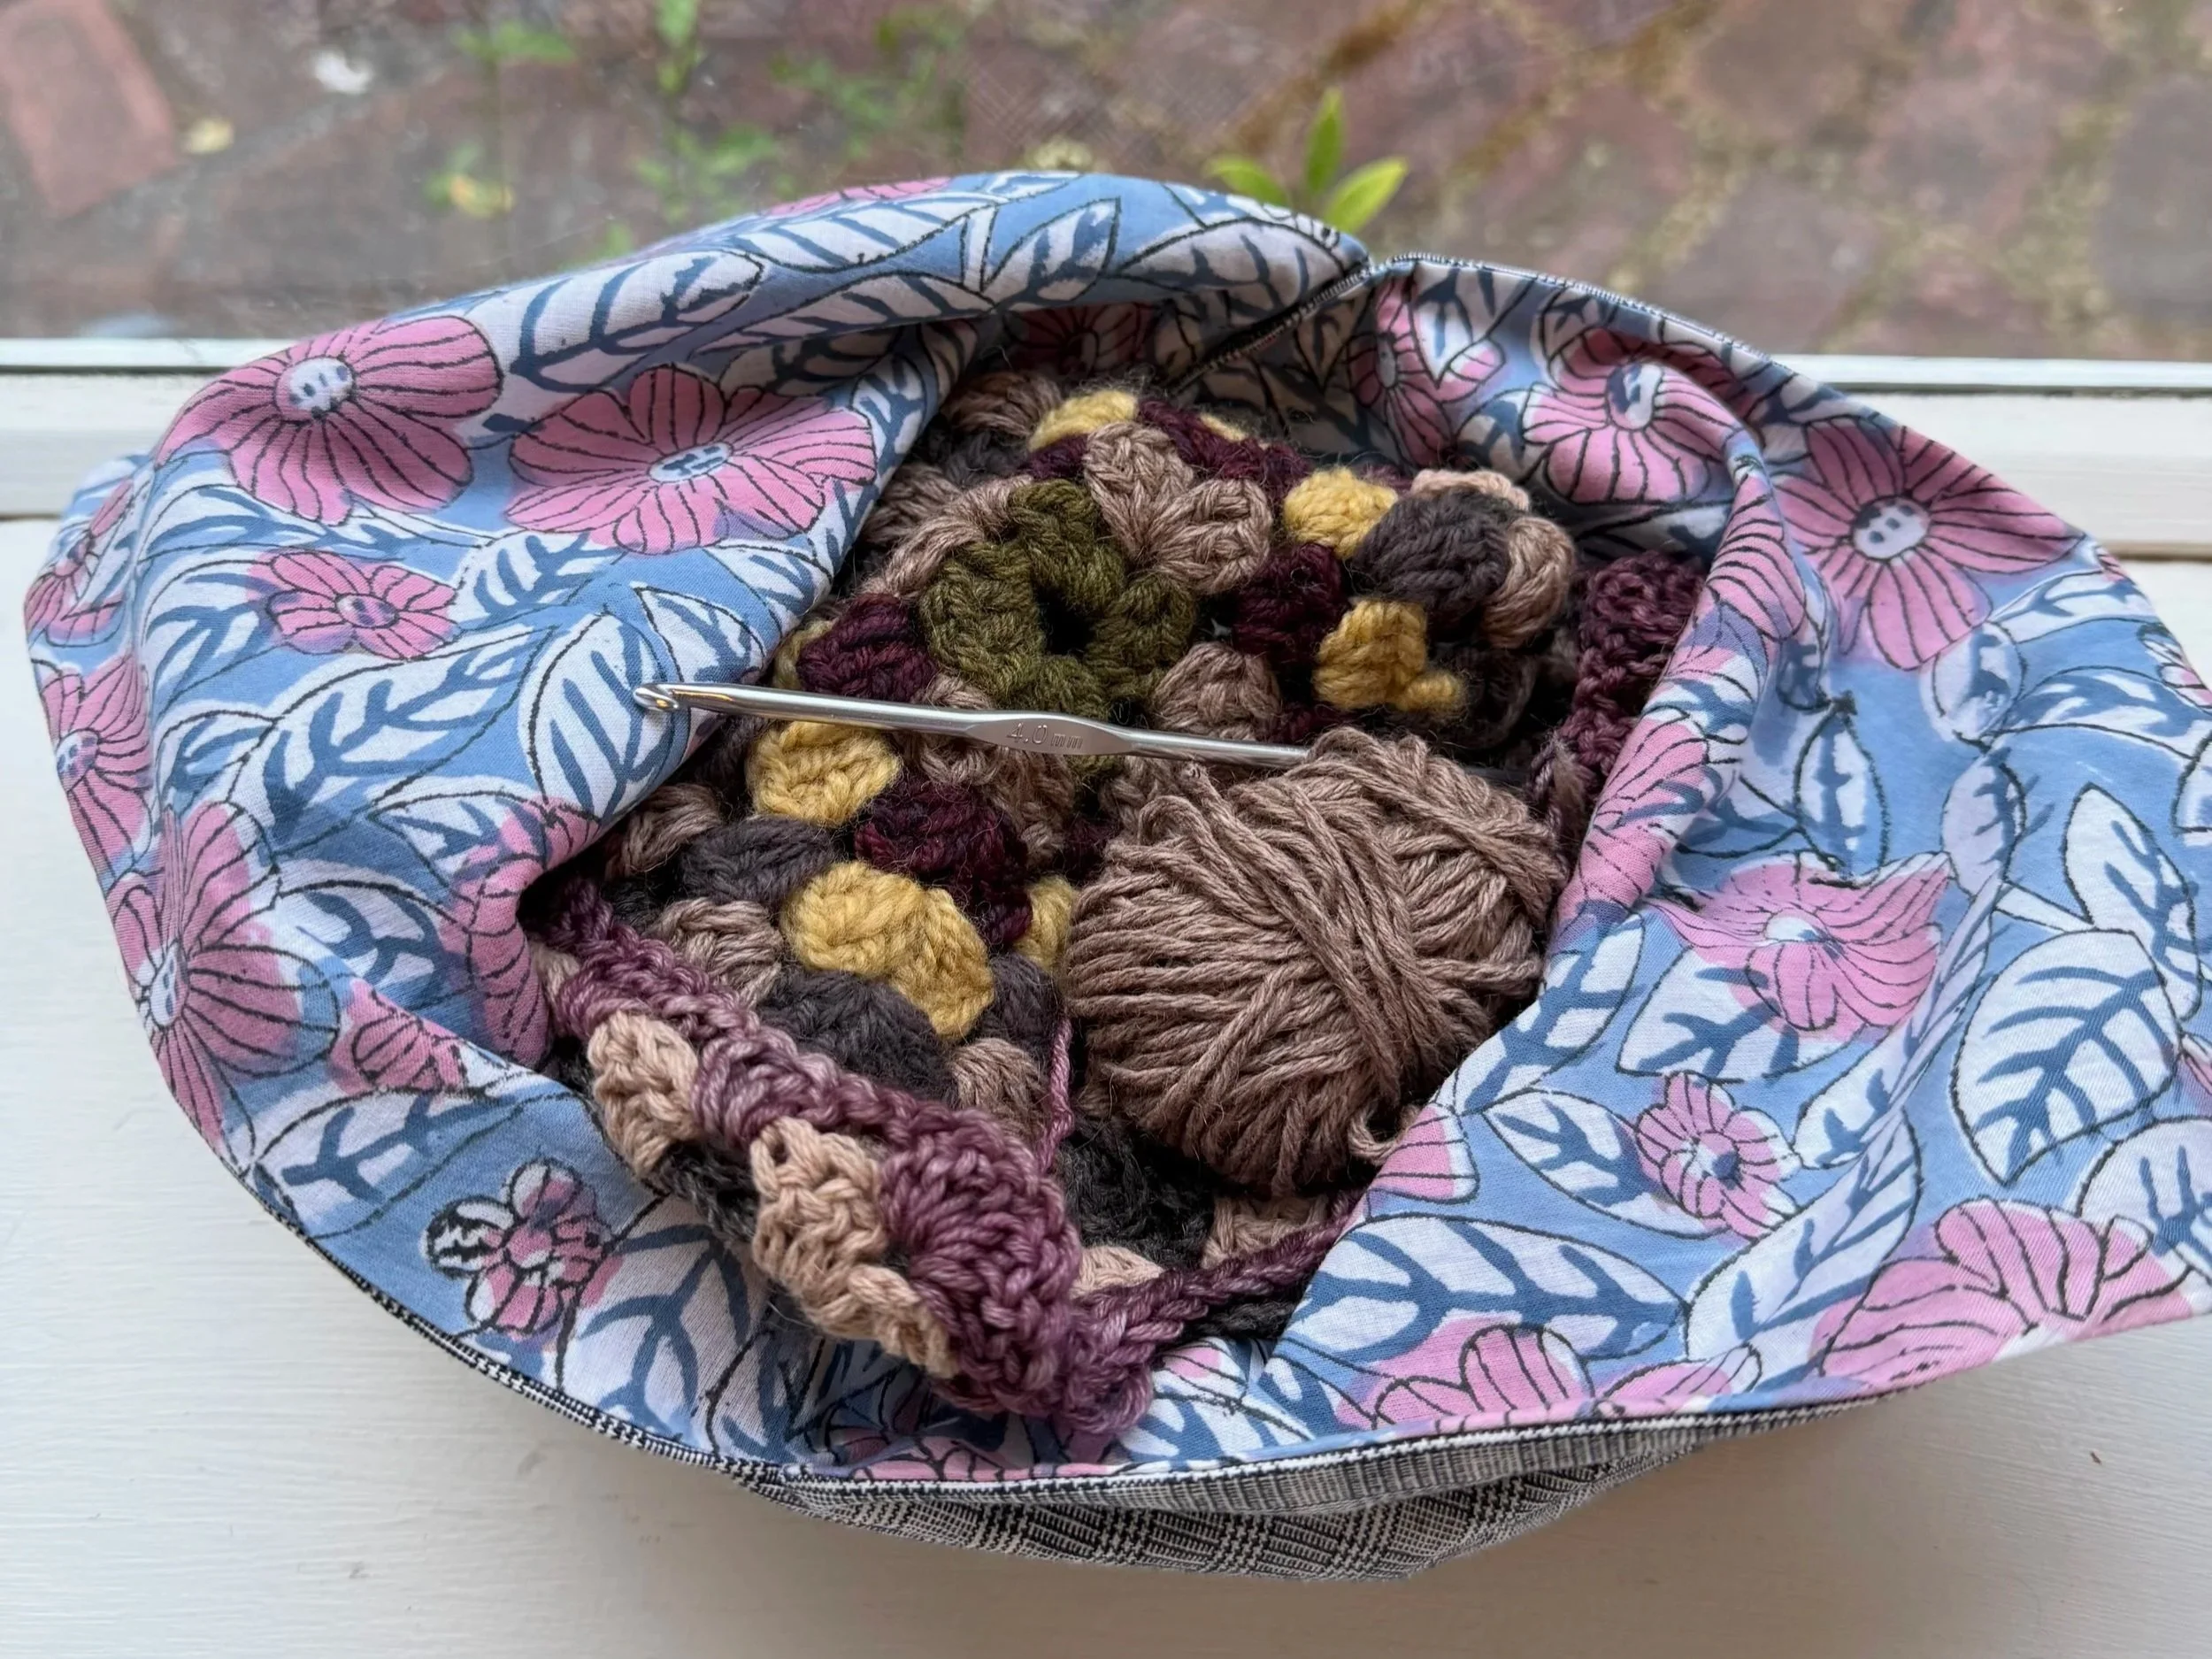
And then you're ready to wrap something up! In mine, I've got some alpaca yarn and needles to make a baby hat – my job for this evening. Hope you enjoy making one of your own and perhaps playing around with different sizes and fabrics. You could also hem just one piece of fabric and follow steps 3 - 11 to make an unlined version.